

TL;DR:
- Many common furnace issues like clogged filters and dirty flame sensors areDIY fixable.
- Safety precautions such as turning off power and gas are essential before repairs.
- When problems involve gas leaks or electrical faults, professionals should handle repairs.
You wake up on a cold Kansas City morning, and your home feels more like a refrigerator than a refuge. The furnace isn’t working, and the temperature is dropping fast. The good news is that many common furnace problems are fixable without calling a technician right away. This guide walks you through a clear, step-by-step approach to diagnosing and repairing your furnace safely. We’ll cover what to check first, what tools you need, and how to verify your repair actually worked. Whether you’re dealing with a unit that won’t start or one that’s cycling on and off, you’ll find practical, straightforward guidance here.
Quick Navigation: Kansas City Furnace Repair Guide
- Assessing your furnace: Safety and prerequisites
- Tools and materials: What you need before you start
- Step-by-step furnace repair process
- Verifying your repair: Testing and troubleshooting results
- Our take: The real value of hands-on furnace repair
- Need help? Trusted Kansas City furnace repair services
- Frequently asked questions
Key Takeaways
| Point | Details |
|---|---|
| Safety first | Always shut down your furnace and confirm no gas leaks before any DIY repair. |
| Gather essential tools | Assemble the correct tools and protective gear before starting your furnace repair. |
| Follow step-by-step instructions | Use a structured checklist to diagnose and fix common furnace problems yourself. |
| Test after repairs | Run thorough tests to ensure your furnace is working safely and efficiently. |
| Know when to call a pro | If your fix doesn’t work or you spot dangerous issues, seek professional help promptly. |
Assessing your furnace: Safety and prerequisites
Before you touch anything inside your furnace, safety comes first. Always turn off the power to the unit at the breaker box, and if you have a gas furnace, shut off the gas supply at the valve near the unit. These two steps are non-negotiable. According to the furnace maintenance checklist, you should check for gas leaks and electrical hazards before attempting any DIY work.
Once you’ve secured the area, identify your symptoms. Common signs of furnace trouble include:
- No heat output despite the thermostat being set correctly
- Unusual noises such as banging, rattling, or squealing
- The furnace starts but shuts off quickly (short cycling)
- A yellow or orange pilot light instead of blue
- Higher-than-normal energy bills without a change in usage
Knowing what is furnace repair helps you set realistic expectations for what you can handle yourself versus what requires a licensed technician.
When to DIY versus when to call a pro:
| Situation | DIY Appropriate? | Call a Pro? |
|---|---|---|
| Dirty or clogged filter | Yes | No |
| Thermostat not responding | Yes | Only if wiring is involved |
| Pilot light won’t stay lit | Sometimes | If gas smell is present |
| Cracked heat exchanger | No | Yes, immediately |
| Strange burning smell | No | Yes, right away |
| Electrical fault or short | No | Yes |
Safety first: If you smell gas at any point during your assessment, leave the house immediately and call your gas company. Do not attempt any repair yourself.
Pro Tip: Snap a photo of your furnace’s model and serial number before starting. You’ll need it when searching for replacement parts or calling a technician.
Take a few minutes to review your furnace manual if you have it. Understanding your specific unit’s layout makes the entire process faster and reduces the chance of accidental damage.
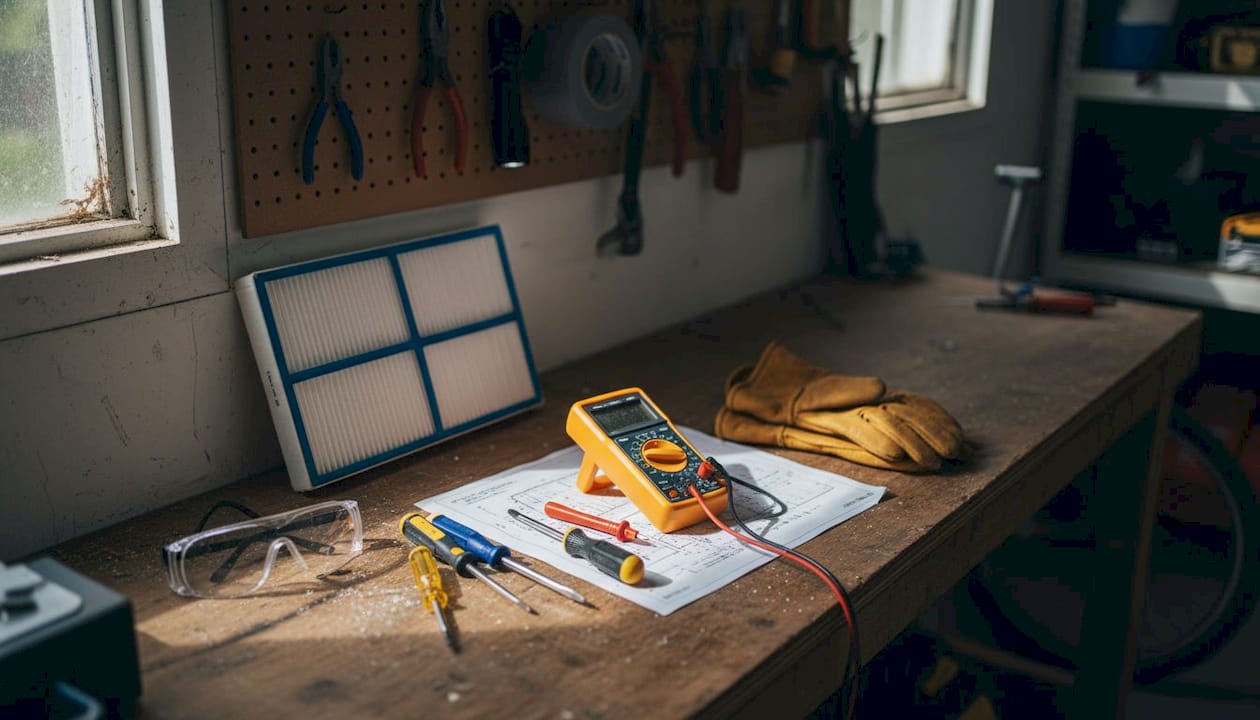
Tools and materials: What you need before you start
Having confirmed it’s safe to proceed, next you’ll need to gather the right equipment to ensure your repair is effective and safe. Showing up unprepared mid-repair is frustrating and can lead to mistakes. Gather everything before you open the furnace cabinet.
Here’s what you’ll need for most basic furnace repairs:
- Flathead and Phillips screwdrivers for accessing panels and securing components
- Needle-nose pliers for handling small wires and clips
- Multimeter to test electrical continuity and voltage
- Replacement air filter sized to your specific furnace model
- Replacement igniter or flame sensor if diagnosis points to ignition failure
- Vacuum with hose attachment for clearing dust and debris
- Flashlight or headlamp for visibility inside the unit
- Safety gloves and safety glasses to protect against sharp edges and dust
As noted in winter furnace maintenance tips, using correct tools and safety gear is vital to prevent injury and damage.
Tool comparison table:
| Tool | Primary use | Acceptable substitute |
|---|---|---|
| Multimeter | Test voltage and continuity | None for electrical testing |
| Needle-nose pliers | Handle small components | Regular pliers in a pinch |
| Vacuum with hose | Remove dust buildup | Compressed air canister |
| Flashlight | Illuminate interior | Phone flashlight |
| Safety gloves | Hand protection | Heavy-duty work gloves |
Pro Tip: Pick up a furnace filter one size up and one size down from your current filter when shopping. Furnace filter sizing can vary slightly between brands, and having options saves a second trip to the hardware store.
Don’t skip the safety gear. Furnace interiors have sharp metal edges, and older units can carry dust that irritates your eyes and lungs. A simple pair of safety glasses and gloves takes seconds to put on and prevents real injury. Being prepared with the right tools also speeds up the job significantly and gives you more confidence as you work through each step.
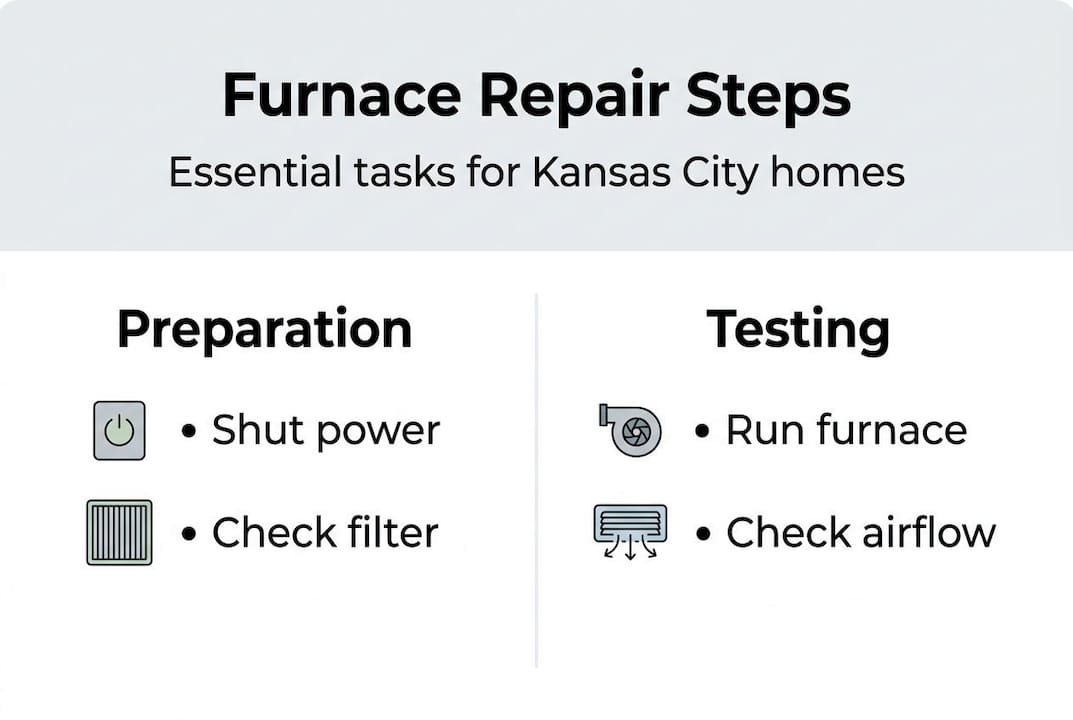
Step-by-step furnace repair process
With all the tools ready, you’re set to start the hands-on repair. Let’s break down the steps so you know what to expect and what to do at each stage.
- Turn off power and gas. Confirm both are off before opening any panels. Double-check the breaker and the gas shutoff valve.
- Remove and inspect the air filter. A clogged filter is the most common cause of furnace problems. If it’s gray and packed with debris, replace it immediately.
- Clean the interior. Use your vacuum to remove dust from the blower compartment, burners, and flame sensor. A dirty flame sensor is a very common reason furnaces shut off prematurely.
- Inspect the igniter. On gas furnaces, the hot surface igniter glows orange when working. If it’s cracked or not glowing, replace it. On electric furnaces, check the heating elements for visible damage.
- Check the thermostat. Set it five degrees above room temperature and listen for the furnace to kick on. If nothing happens, replace the batteries and verify the wiring connections.
- Restore power and gas, then test. Turn everything back on and observe the startup cycle. Watch for proper ignition, consistent airflow, and no unusual sounds.
- Check the flue and vents. Make sure exhaust vents aren’t blocked by debris or ice, which is common in Kansas City winters.
Following a structured troubleshooting checklist maximizes repair success and home safety. You can also review a full furnace repair overview to understand what each component does before you start.
Gas furnace note: Never attempt to repair gas valves, heat exchangers, or gas lines yourself. These components require a licensed technician and specialized tools.
Pro Tip: After cleaning the flame sensor, use fine steel wool or light sandpaper to gently polish the sensor rod. Built-up residue is the top reason flame sensors fail to read correctly, and a quick polish often restores function without a full replacement.
Verifying your repair: Testing and troubleshooting results
After completing your repair, it’s vital to confirm your furnace is safe and effective. A repair that seems done isn’t truly finished until you’ve verified the results.
Here’s how to run a proper post-repair test:
- Set your thermostat to heat mode and raise the temperature five degrees above the current room temperature.
- Wait two to three minutes for the furnace to complete its startup sequence.
- Walk to each register in your home and feel for warm airflow.
- Listen through one full heating cycle for any unusual sounds.
- Check the area around the furnace for any smell of gas, burning plastic, or smoke.
Signs your repair was successful versus signs of remaining issues:
| Indicator | Repair successful | Further action needed |
|---|---|---|
| Airflow from registers | Warm and consistent | Weak or no airflow |
| Furnace cycling | Normal on/off pattern | Short cycling or no shutoff |
| Sounds during operation | Quiet hum | Banging, rattling, or squealing |
| Thermostat response | Reaches set temperature | Temperature not reached |
| Odors | None | Gas, burning, or musty smell |
Homeowners who systematically verify furnace repairs reduce recurring issues and unexpected breakdowns. Building this verification habit into your routine is one of the smartest things you can do for your home comfort.
For ongoing performance, review furnace tune-up tips to keep your system running efficiently between repairs. Also, check your hvac maintenance for home comfort resources for a broader seasonal strategy.
Stat to know: Furnaces that receive regular post-repair verification and seasonal maintenance last significantly longer and operate more efficiently than those that don’t, saving homeowners hundreds of dollars annually in energy and repair costs.
If your furnace still isn’t performing correctly after following all these steps, don’t force it. Some issues require professional diagnosis and equipment that isn’t available to most homeowners.
Our take: The real value of hands-on furnace repair
Here’s something most guides won’t tell you: the biggest benefit of DIY furnace repair isn’t the money you save. It’s the knowledge you gain about your own home. When you’ve replaced a filter, cleaned a flame sensor, and run a full test cycle yourself, you know your system. You notice small changes earlier. You catch problems before they become expensive emergencies.
That said, we’ve seen too many Kansas City homeowners push DIY too far. A cracked heat exchanger, a failing gas valve, or a compromised flue is not a weekend project. These issues put your family at risk, and no amount of savings is worth that.
The right balance is this: handle the routine stuff yourself, and build a relationship with a trusted HVAC company for the rest. Investing in furnace efficiency in Kansas City pays off every winter, whether you’re doing the work or calling in a pro. Confidence and caution together make you a smarter homeowner.
Need help? Trusted Kansas City furnace repair services
Sometimes DIY isn’t enough, and that’s completely okay. If your repair didn’t resolve the issue, or if you encountered something unexpected along the way, KC Air Control is here to help.
With over 70 years of experience serving Kansas City homeowners, our team handles everything from routine tune-ups to emergency furnace repair calls when your heat goes out overnight. We offer fast response times, transparent pricing, and online scheduling so you can get back to comfortable quickly. Whether you need a professional furnace repair or a seasonal furnace tune-up service, our licensed technicians are ready to help. Don’t let a furnace problem linger through a Kansas City winter. Schedule your service online today and let us handle the rest.
Frequently asked questions
What are the most common furnace problems homeowners can fix themselves?
Homeowners can often resolve issues like dirty filters, thermostat errors, and simple ignition problems with step-by-step troubleshooting. The furnace maintenance checklist confirms that minor repairs including filter replacement and thermostat calibration are well within reach for most homeowners.
How can I tell if my furnace repair was successful?
You should notice consistent heating, no unusual noises, and normal furnace cycling after repair. Regular post-repair testing ensures safe and effective operation and helps you catch any remaining issues early.
When should I call a professional instead of doing DIY repairs?
If you notice gas smells, electrical hazards, or your repairs don’t fix the problem, call a licensed technician for safety. Gas leaks and electrical hazards require professional intervention and should never be handled without proper training and equipment.
What tools are needed for basic furnace repairs?
Essential tools include screwdrivers, pliers, a replacement filter, and safety gloves. The right tools and materials are crucial for effective home furnace repair and help you complete the job safely and correctly.
How often should I check my furnace for potential issues?
Inspect your furnace at least once per season, before winter, and after major weather events for optimal reliability. Seasonal inspections help prevent unexpected breakdowns and keep your system running efficiently all year long.
Recommended
- Furnace maintenance checklist: 10 essential steps for KC homes in 2026 – KC Air Control – Heating & Cooling
- Essential Winter Furnace Maintenance Tips for KC Homes – KC Air Control – Heating & Cooling
- How to identify HVAC issues: Kansas City homeowner’s guide – KC Air Control – Heating & Cooling
- Emergency HVAC Repair Workflow KC: 35% Faster Fixes – Air Control