
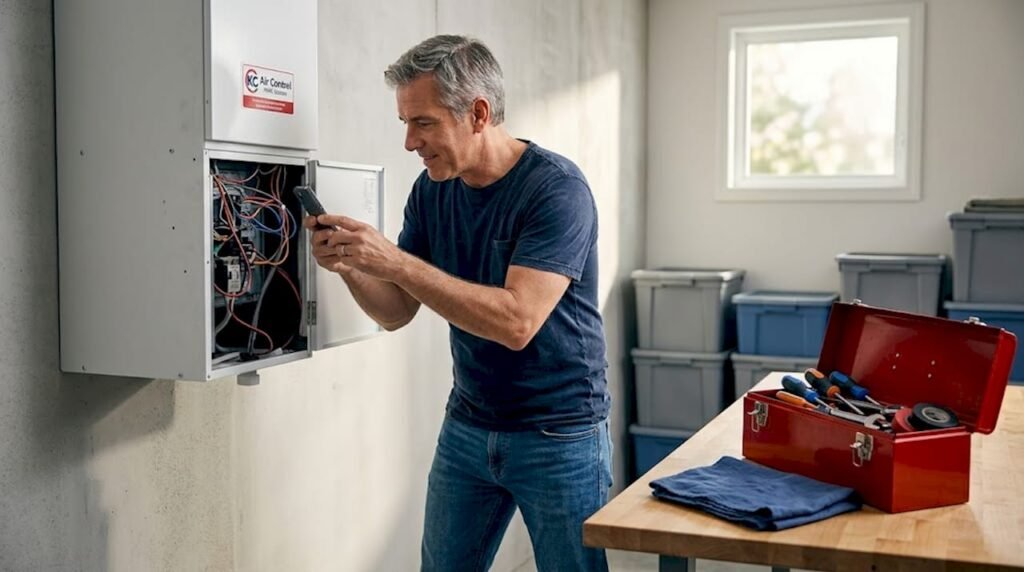
TL;DR:
- Many common AC problems, such as dirty filters and tripped breakers, homeowners can diagnose and fix safely.
- However, handling refrigerant or replacing the compressor requires professional expertise and certification.
Your air conditioner quits on the hottest day of the year. It’s a situation almost every homeowner has faced, and it’s never convenient. Before you reach for the phone to call a repair service, there’s a real chance you can diagnose and fix the problem yourself. This step-by-step AC repair guide walks you through everything from safety prep to diagnosing the most common AC problems and executing the repairs that are well within a DIY homeowner’s reach. You’ll also learn when it’s time to call in a professional so you don’t make a small problem worse.
Table of Contents
- Key takeaways
- Safety and setup before you start
- Diagnosing common AC problems step by step
- Fixing the most common AC issues
- Avoiding repair pitfalls and knowing your limits
- Verifying the repair and maintaining your system
- My honest take on DIY AC repair
- When to bring in the Kcaircontrol team
- FAQ
Key takeaways
| Point | Details |
|---|---|
| Safety comes before anything | Always cut power at the breaker before touching any AC component to avoid serious injury. |
| Most failures have simple causes | Dirty filters, tripped breakers, and clogged drain lines cause the majority of AC problems. |
| Know the 50% rule | If repairs cost more than half the price of a new system, replacement is usually the smarter choice. |
| Refrigerant is off-limits for DIY | Handling refrigerant without EPA certification is illegal and potentially dangerous. |
| Maintenance prevents most breakdowns | Changing filters every 30 to 60 days and cleaning coils annually stops most failures before they start. |
Safety and setup before you start
No repair is worth a trip to the emergency room. Before you touch your AC system, follow these steps without exception.
Cut the power completely. Go to your home’s main electrical panel and flip the breaker for your AC unit to the off position. For central systems, there is also typically a disconnect box near the outdoor condenser. Pull that disconnect as well. Never rely solely on the thermostat to cut power.
Gather your tools and materials. Having the right supplies ready before you start saves time and keeps you from leaving a partially disassembled unit while you run to the hardware store.
- Flathead and Phillips screwdrivers
- Needle-nose pliers
- Multimeter (for checking voltage and continuity)
- Fin comb (for straightening bent condenser fins)
- Shop vacuum or wet/dry vacuum
- Replacement air filter (know your unit’s size before you go)
- Coil cleaner spray
- Drain line flush solution or white vinegar
- Safety glasses and work gloves
Pro Tip: Photograph your wiring connections with your phone before disconnecting anything. If you need to reconnect wires during a repair, that photo is worth more than any diagram.
| Safety step | Why it matters |
|---|---|
| Cut breaker power | Prevents electric shock during component access |
| Pull outdoor disconnect | Eliminates residual power in the condenser circuit |
| Wear gloves and glasses | Condenser fins and coil edges are sharp |
| Work in dry conditions | Water and electricity do not mix near electrical components |
Protect your home too. Lay down a tarp or old towels near the air handler if you plan to work on the indoor unit. Drain line work in particular can get messy fast.
Diagnosing common AC problems step by step
This section is your air conditioning troubleshooting steps checklist. Work through these in order. Most problems show up early in the list.
-
Check the thermostat first. Confirm it is set to “cool” and that the set temperature is lower than the current room temperature. Replace the batteries. A surprising number of service calls happen because of a dead thermostat battery or an accidental mode switch.
-
Inspect the breaker panel. A tripped breaker is one of the most common AC fixes homeowners overlook. Look for a breaker that is halfway between on and off. Flip it fully off, then back to on. If it trips again immediately, stop and call a professional. A repeat trip signals a deeper electrical problem.
-
Check and replace the air filter. Pull the filter out of the air handler or return vent. Hold it up to a light. If you can’t see light through it, it’s overdue for a change. Clogged filters reduce efficiency by up to 15% and can cause the evaporator coil to freeze solid.
-
Inspect the outdoor condenser unit. Walk outside and look at the condenser. Clear away any leaves, grass clippings, or debris that has collected around or on top of it. The unit needs at least two feet of clearance on all sides to pull in adequate airflow. Dirty condenser coils and bent fins reduce performance significantly and are a common cause of warm air blowing indoors.
-
Check the condensate drain line. Find the PVC drain pipe exiting your indoor air handler, typically near the floor or routed to a utility drain. If the drain pan underneath is holding water, your drain line is clogged. This is one of the top causes of AC shutdowns because most modern systems have a float switch that kills the unit when the pan fills to prevent water damage.
-
Look for ice on the refrigerant lines. Check the copper lines running from your outdoor unit to the indoor air handler. If you see frost or ice, you likely have a refrigerant issue or an airflow restriction. Turn the unit off and let it thaw before proceeding.
Pro Tip: Keep a simple log of what you checked and what you found. When you call a technician, this information cuts diagnosis time significantly and can lower your service bill.
Fixing the most common AC issues
Once you have identified the problem, here is how to address the most fixable issues in this DIY AC repair guide.
-
Replace the air filter. Slide the old filter out and slide the new one in, arrow pointing toward the air handler (not away from it). Many homeowners install filters backward, which reduces airflow and defeats the purpose entirely.
-
Clean the condenser coils. With the power off and the disconnect pulled, use a garden hose to gently rinse the condenser coils from the inside out. Do not use high pressure. Apply coil cleaner spray if there is significant buildup, let it foam and lift the debris, then rinse again. Use a fin comb to straighten any bent fins carefully.
-
Flush the condensate drain line. Pour a cup of white vinegar or a dedicated drain flush solution into the access port on the drain line (usually a T-shaped cap near the air handler). Let it sit for 30 minutes, then flush with water. For a stubborn clog, use a wet/dry vacuum at the outdoor end of the drain line to pull the blockage free.
-
Reset the breaker properly. If a tripped breaker is the issue, wait five minutes after flipping it off before turning it back on. This gives capacitors time to discharge.
-
Inspect and replace the capacitor. Capacitors are cylindrical components inside the outdoor unit’s electrical panel. A bulging top or visible burn marks mean it has failed. Capacitors hold a charge even after power is cut, so discharge it with an insulated resistor or screwdriver before touching it. Capacitor replacement is one of the more approachable fixes for a confident DIYer, with parts typically costing $10 to $30.
Pro Tip: If your unit runs but blows warm air and the condenser fan spins but the compressor does not, the run capacitor is the first suspect. This is one of the most cost-effective repairs you can do yourself.
| Repair type | DIY feasible? | When to call a pro |
|---|---|---|
| Filter replacement | Yes | Never |
| Condenser coil cleaning | Yes | If coils are deeply corroded |
| Drain line flush | Yes | If water damage has already occurred |
| Capacitor replacement | Yes, with caution | If wiring is damaged or burned |
| Refrigerant recharge | No | Always requires certified technician |
| Compressor replacement | No | Evaluate replacement vs. repair cost |
Remember the 50% rule for repairs: if a repair costs more than half the price of a new system, replacement is typically the smarter financial decision.

Avoiding repair pitfalls and knowing your limits
Even experienced DIYers make these mistakes. Knowing them in advance saves you money and keeps you safe.
- Do not assume refrigerant is the problem. Most “no cool” situations stem from blocked drains, dirty filters, or tripped breakers rather than refrigerant leaks. Refrigerant is a sealed system component that does not deplete under normal conditions. If you are losing refrigerant, there is a leak that requires professional repair.
- Never handle refrigerant without EPA Section 608 certification. This is not a gray area. Handling refrigerants without the proper license is illegal under federal law, and fines are significant.
- Do not ignore unusual sounds or smells. Grinding noises suggest a failing motor bearing. A burning smell points to an electrical issue. Musty odors often mean mold growth in the drain pan or ductwork. These are not problems that go away on their own.
- Avoid repeated breaker resets. If a breaker trips more than once, resetting it again can damage your compressor or cause a fire. Stop and call a professional.
- Know when replacement beats repair. Repair estimates and second opinions matter. Any technician who pressures you to replace immediately without a written explanation of the system’s condition is not giving you complete information.
“When in doubt about a repair, the most expensive mistake a homeowner can make is proceeding anyway. A $30 part replaced incorrectly can become a $3,000 compressor failure.”
Pro Tip: If your AC system is over 10 years old and needs a major repair, get a written quote for both repair and full replacement before deciding. The energy savings from a newer, higher-efficiency system often offset a higher upfront cost within three to five years.
Verifying the repair and maintaining your system
After completing any repair, run a full system check before closing everything up.
- Turn the power back on at the disconnect and breaker in that order.
- Set the thermostat to cool, at least five degrees below the current room temperature.
- Give the system 15 minutes to reach steady-state operation.
- Check supply vents for cold, consistent airflow.
- Verify the condensate drain is flowing by watching the drain line outlet during operation.
- Listen for any new noises that were not present before the repair.
Pro Tip: Use a simple thermometer to check the temperature difference between your return air vent and your supply air vent. A healthy split is typically between 14 and 22 degrees Fahrenheit. Anything outside that range suggests a problem still exists.
Ongoing maintenance is what keeps you out of this repair guide next summer.
| Maintenance task | Recommended frequency |
|---|---|
| Air filter replacement | Every 30 to 60 days |
| Condensate drain flush | Every 3 months |
| Condenser coil cleaning | Once per year, before cooling season |
| Professional tune-up | Once per year |
| Refrigerant level check | Every 2 to 3 years by a certified tech |
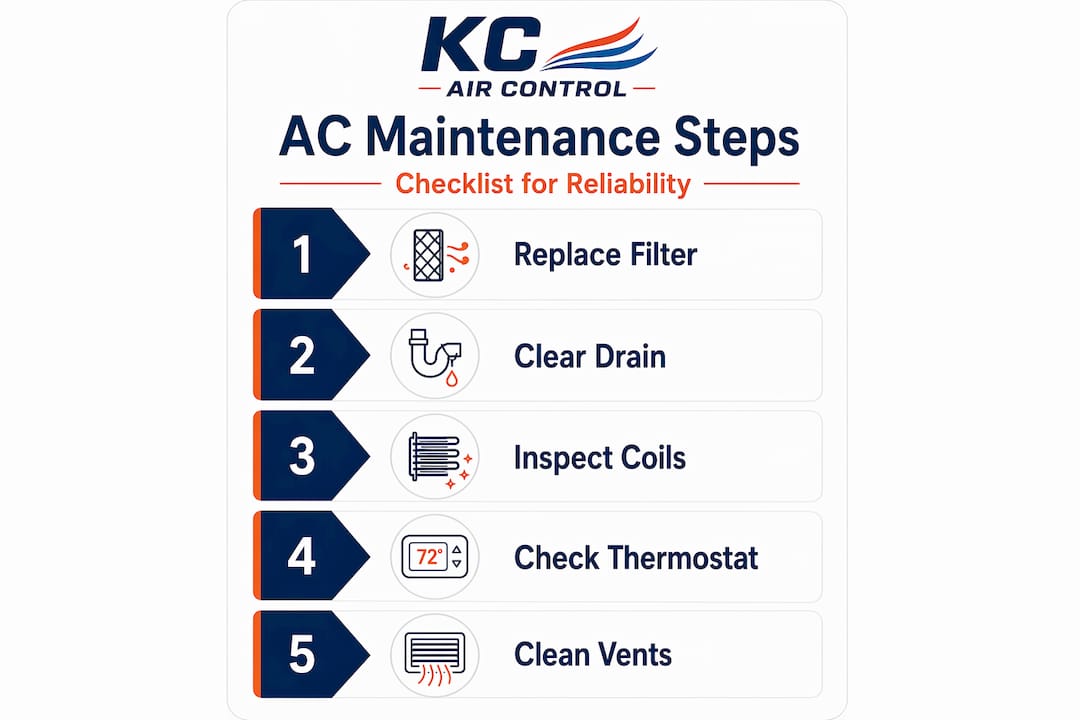
Filters changed every 1 to 3 months prevent frozen coils and premature system failure. That simple habit alone eliminates a large percentage of avoidable service calls. For more AC maintenance tips that keep your system performing year-round, the team at Kcaircontrol has put together a year-round prevention guide worth bookmarking before the next heat wave.
My honest take on DIY AC repair
I’ve seen homeowners succeed with their own repairs time and time again, and I’ve also seen that same confidence create far more expensive problems. Here is what I’ve actually learned.
The biggest misconception is that AC systems are fragile or mysterious. They are not. Most units are fairly forgiving if you approach them methodically and respect the electrical components. The homeowners who struggle are almost always the ones who skip the diagnosis phase and go straight to replacing parts. Swapping a capacitor without first checking whether the filter or breaker caused the problem means you might fix nothing and spend money unnecessarily.
What I’ve found is that the filter, drain line, and breaker are responsible for at least 70% of the service calls I’ve seen escalate unnecessarily. If you spend 20 minutes checking those three things before anything else, you will solve most problems without opening a single panel.
The second thing I want to say plainly: do not mess with refrigerant. I understand the temptation to watch a video and “just recharge it yourself,” but this is where well-meaning DIY turns into legal and safety risk. When a system is low on refrigerant, there is a leak. Recharging without finding the leak is not a fix. It is a delay, and it costs more in the long run.
Finally, if your unit is struggling during a heat wave, treat it with the same urgency as any other home emergency. AC failures in extreme heat can escalate into genuine health risks, especially for elderly family members or young children. Know when to get help fast.
— AB
When to bring in the Kcaircontrol team
DIY repairs are empowering, and this guide is designed to help you handle everything that is reasonable to tackle at home. But some situations call for a licensed HVAC professional, and getting that help quickly matters.

If your system is short cycling, making grinding or squealing noises, or failing to cool even after you have worked through every step here, the problem is likely beyond what tools at home can safely address. Kcaircontrol has served Kansas City homeowners for over 70 years with reliable, honest HVAC service. Whether you need a fast emergency HVAC repair or a professional diagnosis to figure out whether repair or replacement makes more financial sense, the team is ready to help. For situations that cannot wait, check out the emergency troubleshooting options on the Kcaircontrol site to get the right support without delay. A qualified technician should also check refrigerant levels, inspect electrical connections, and verify system performance as part of an annual tune-up, regardless of how well your DIY repairs go.
FAQ
What should I check first when my AC stops working?
Start with the thermostat settings and batteries, then check the breaker panel for a tripped circuit. These two checks resolve the majority of sudden AC failures before any component-level repair is needed.
Can I recharge my AC refrigerant myself?
No. Handling refrigerant requires EPA Section 608 certification, and doing so without it is illegal. A low refrigerant level also signals a leak that must be located and repaired by a certified technician.
How often should I change my AC filter?
Replace your filter every 30 to 60 days under normal conditions, or every 30 days if you have pets or a dusty environment. Neglecting the filter is the single most common cause of avoidable AC performance problems.
How do I know if I should repair or replace my AC?
Use the 50% rule: if the repair cost exceeds half the price of a new system, replacement typically offers better long-term value. Always get a second opinion before committing to a major repair on an older unit.
What AC repairs are safe for homeowners to do themselves?
Filter replacements, drain line cleaning, condenser coil cleaning, and capacitor replacements are all within reach for a careful DIYer. Refrigerant handling, compressor work, and anything involving exposed wiring or repeated breaker trips should be handled by a licensed HVAC technician.