
TL;DR:
- Proper sizing and thorough commissioning are essential to ensure efficiency, safety, and indoor comfort during furnace replacement.
- Following a structured installation process and verifying certifications prevent costly issues and warranty voids, securing long-term system performance.
If your heating bills keep climbing while your home stays uncomfortable, your furnace may be working against you. A step by step furnace upgrade done right can cut energy costs significantly, improve indoor comfort, and give you peace of mind heading into winter. But skipping key steps, like proper sizing or commissioning tests, leads to problems that cost far more to fix later. This guide walks you through every phase of the furnace replacement process, from preparation to final verification, so you know exactly what to expect and what to watch for.
Table of Contents
- Key takeaways
- Step by step furnace upgrade: preparing your home
- The installation process, phase by phase
- Testing and commissioning your new furnace
- Troubleshooting common upgrade problems
- My honest take on furnace upgrades
- How Kcaircontrol can help with your furnace upgrade
- FAQ
Key takeaways
| Point | Details |
|---|---|
| Sizing comes first | A Manual J heating load calculation prevents the most common cause of post-install comfort problems. |
| Document everything upfront | Photograph your existing furnace model, serial numbers, and efficiency labels before removal begins. |
| Follow a clear install sequence | Safe utility shutoffs, duct inspection, proper venting, and thermostat setup all happen in a specific order. |
| Commission before you call it done | Testing ignition, airflow, and temperature rise after installation is not optional. It confirms the system is safe. |
| Mismatched systems void warranties | Always verify AHRI certification to confirm your furnace and air handler are a certified matched pair. |
Step by step furnace upgrade: preparing your home
Good preparation is what separates a smooth installation from a frustrating one. Before any equipment gets touched, you need to know what your home actually requires.
Get a proper heating load calculation
The single most important pre-installation task is an accurate heating load calculation. Manual J calculations account for your home’s square footage, insulation levels, window area, and air leakage to determine the correct furnace size. Guessing based on the old unit’s size is a mistake many contractors still make. According to industry data, incorrect furnace sizing is the biggest cause of comfort and efficiency problems after installation.
Document your existing system
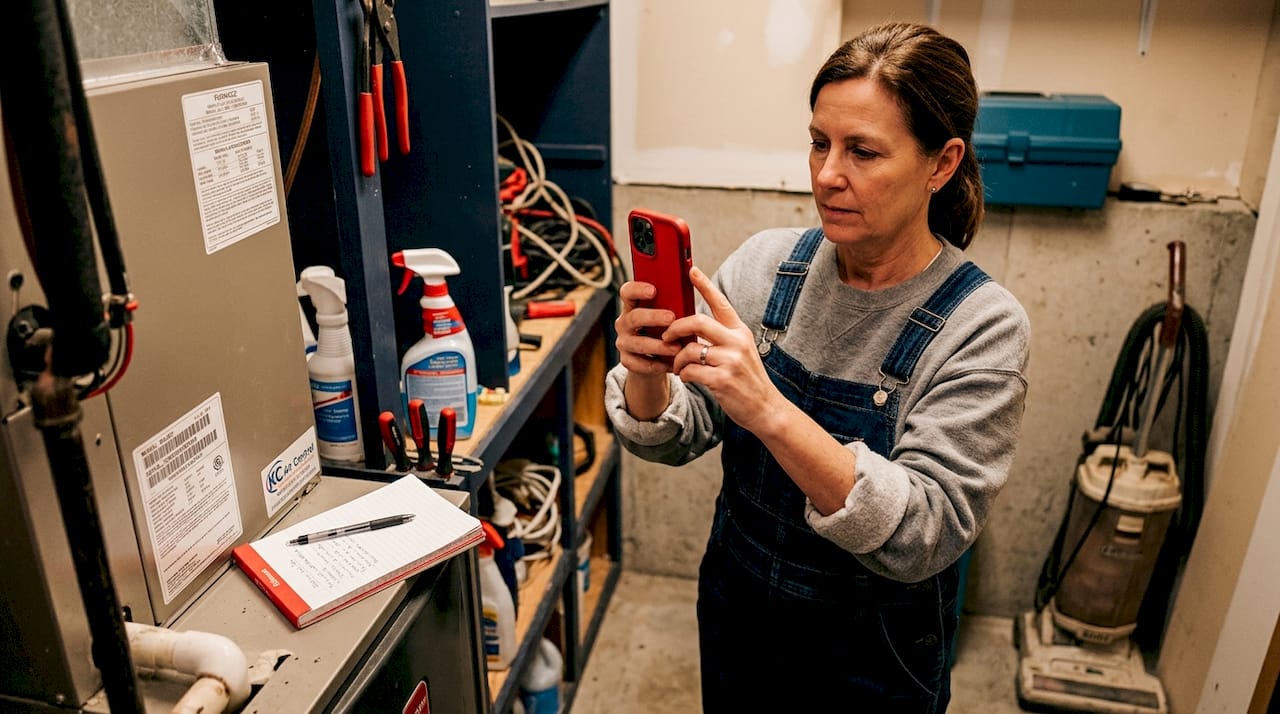
Before anyone disconnects anything, photograph your equipment thoroughly. Capture the model number, serial number, and efficiency label on your current furnace. Verify those numbers match what your contractor has on the quote. This documentation protects you during permit applications, warranty claims, and any future service calls. It takes five minutes and has saved homeowners thousands of dollars in disputes.
Clear access and prepare the workspace
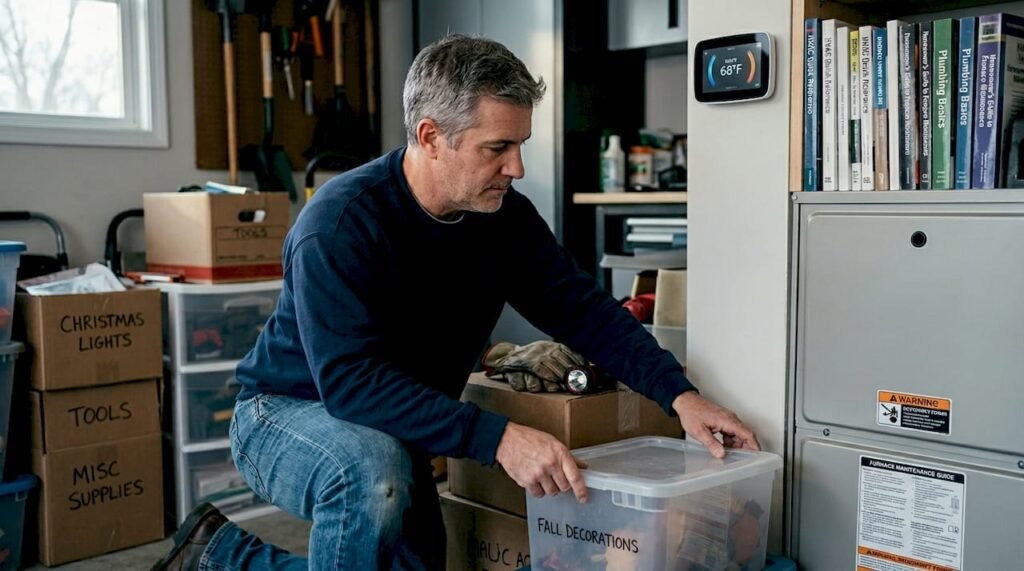
Clearing the work area around the furnace, electrical panel, gas shutoff valve, and thermostat is your responsibility as the homeowner. Remove stored items, improve lighting if needed, and make sure the path from your front door to the furnace room is clear for equipment transport. A cramped workspace slows installation and increases the chance of errors.
Check permits and contractor credentials
Most jurisdictions require a permit for furnace replacement. Confirm your contractor pulls one before work begins. A licensed contractor with verified credentials protects you legally and ensures inspections happen correctly.
Here is a preparation checklist in table format to keep you organized before installation day:
| Task | Status check |
|---|---|
| Manual J load calculation completed | Yes / No |
| Existing furnace model and serial documented | Yes / No |
| AHRI certification confirmed for new system | Yes / No |
| Permit pulled by licensed contractor | Yes / No |
| Workspace cleared around furnace and panel | Yes / No |
| Gas shutoff and electrical panel accessible | Yes / No |
| Thermostat location accessible | Yes / No |
Pro Tip: Take wide-angle and close-up photos of all existing connections before any work starts. These images are gold during permit inspections and if warranty questions come up later.
The installation process, phase by phase
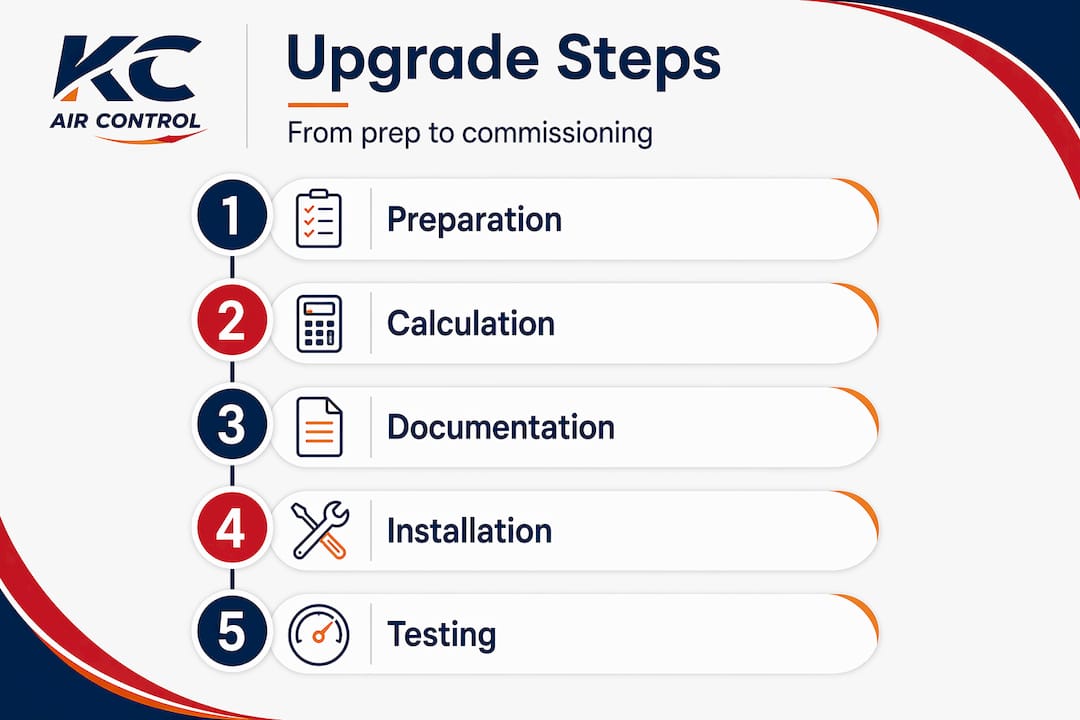
Once your preparation is solid, the actual step by step heating upgrade follows a clear, logical sequence. Here is how a professional furnace installation guide breaks it down:
-
Shut off all utilities. Turn off the gas supply at the shutoff valve nearest the furnace. Switch off the circuit breaker dedicated to the furnace. Never skip this step or rush through it.
-
Disconnect the old furnace. Detach the gas line, flue venting, electrical connections, and supply and return duct connections. Cap the gas line immediately after disconnecting.
-
Inspect ductwork, venting, and gas lines. Before the new unit goes in, check ductwork airflow, venting materials, and clearances for any damage, leaks, or code violations. High-efficiency condensing furnaces (90% AFUE or higher) require PVC venting instead of traditional metal flue, which adds cost and installation time. Non-condensing units at around 80% AFUE use simpler venting but operate less efficiently. Know which type you are installing before day one.
-
Position and secure the new furnace. Place the new unit according to manufacturer specs for clearance on all sides. Secure it to the floor or platform as required by local code.
-
Connect gas, electrical, and ductwork. Reconnect the gas line with new fittings and apply leak-detection solution before pressurizing. Make all electrical connections per the wiring diagram. Seal duct connections with mastic or foil tape, not standard duct tape which fails over time.
-
Install venting and condensate drain. For high-efficiency units, install PVC vent pipes with proper slope and termination location per manufacturer instructions. Connect the condensate drain to a suitable drain point to prevent water damage.
-
Install and configure the thermostat. A thermostat upgrade is a standard part of the furnace replacement process. A compatible smart thermostat improves efficiency and lets you monitor system performance remotely.
Here are the most common mistakes to avoid during this phase:
- Using standard duct tape instead of mastic or foil tape on duct seams
- Skipping a gas leak test after reconnecting the supply line
- Installing the wrong venting material for a high-efficiency furnace
- Failing to verify filter size compatibility before buttoning up the unit
- Leaving the condensate drain line without a trap on high-efficiency models
Pro Tip: Read the specific installation manual for your new furnace model before the crew arrives. Manufacturers occasionally have model-specific requirements that differ from general practice, and catching those early prevents a return trip.
Testing and commissioning your new furnace
This phase is where many DIY furnace upgrade attempts fall short. A furnace that fires up is not the same as a furnace that is operating correctly and safely. Commissioning testing is a structured sequence, not just flipping the switch and listening for the burner.
Here is what a proper commissioning check covers:
- Ignition test: Confirm the igniter fires reliably and the burner lights without delay or repeated attempts
- Airflow and static pressure check: Measure static pressure in the supply and return ducts to verify the blower is moving the right amount of air
- Temperature rise measurement: Check the difference between return air temperature and supply air temperature. This should fall within the manufacturer’s specified range, typically 35 to 70 degrees Fahrenheit depending on the model
- Safety limit verification: Manually trigger high-limit and pressure switch tests to confirm they shut the system down when they should
- Condensate drain test: Pour water into the drain pan to confirm it flows freely without backing up
- Thermostat behavior check: Run the system through a full heating cycle from the thermostat and confirm it responds correctly at each stage
Thorough commissioning, including combustion verification and safety controls testing, is the step most often skipped or rushed. It is the only way to confirm your new furnace is truly ready for a full heating season.
Pro Tip: During first startup, watch for any yellow or orange burner flame instead of blue. A yellow flame indicates incomplete combustion and a carbon monoxide risk. Stop the system immediately and call your contractor if you see this.
Troubleshooting common upgrade problems
Even well-planned installations can run into issues. Knowing what to look for keeps small problems from becoming expensive ones. Review your furnace troubleshooting checklist if any of these situations come up after installation.
-
Uneven heating or short cycling: This usually points to a furnace that was oversized. A furnace too large for the space heats up quickly, shuts off, then cycles on again before the temperature stabilizes. The fix requires addressing the root sizing error, not adjusting the thermostat.
-
Mismatched or non-certified system components: Installing non-certified or mismatched furnace and air handler combinations causes efficiency loss and can void your warranty entirely. Always verify AHRI certification numbers before installation begins, not after.
-
Airflow problems: Weak airflow after a new installation often means a blower speed setting mismatch or a duct obstruction that was not caught during the pre-install inspection. A static pressure test will identify this quickly.
-
Thermostat communication errors: Older thermostats may not communicate correctly with new variable-speed furnace systems. If the furnace does not respond as expected, check thermostat compatibility with the new control board.
-
Permit and inspection delays: If your contractor did not pull a permit or the inspection fails, do not operate the system until it passes. Running an uninspected furnace can create homeowners insurance complications.
When in doubt, call a licensed HVAC professional. A good contractor welcomes questions and will walk you through the commissioning report. If yours does not, that is worth paying attention to.
My honest take on furnace upgrades
I have seen hundreds of furnace replacements over the years, and the pattern is always the same. The jobs that go smoothly are the ones where the homeowner was involved from the start. The ones that turn into callbacks and complaints almost always skipped the load calculation or rushed the commissioning.
Here is the uncomfortable truth about DIY furnace upgrades: most homeowners should not do the physical installation themselves. Gas connections, venting, and electrical work require licenses in most states, and mistakes carry real safety risks. But that does not mean you should be passive. Understanding the HVAC installation process gives you the ability to ask the right questions, catch shortcuts before they become problems, and hold your contractor accountable.
The load calculation is the step I see skipped most often, even by experienced contractors who should know better. They look at the old unit, match the tonnage or BTU rating, and move on. That approach ignores insulation upgrades, window replacements, and additions that change your home’s heat loss profile completely. Insist on a Manual J before you sign any equipment proposal.
I also think homeowners underestimate how much commissioning documentation matters. Get a written commissioning report from your contractor. If they cannot produce one, that tells you something important about the quality of the work.
— AB
How Kcaircontrol can help with your furnace upgrade
Kcaircontrol has been serving Kansas City homeowners for over 70 years, and furnace upgrades are one of our core specialties. Whether you need a full furnace repair and replacement or ran into unexpected issues mid-project, our licensed technicians handle every phase of the process correctly the first time. We offer flexible financing options to make a quality upgrade accessible, and every installation includes a thorough commissioning report. If your situation becomes urgent, our emergency HVAC repair services are available when you need them most. Schedule your free consultation today and let us make sure your upgrade is done right.
FAQ
What is the most important first step in a furnace upgrade?
A Manual J heating load calculation is the most critical first step. It determines the correct furnace size for your home and prevents the comfort and efficiency problems that come from oversized or undersized equipment.
How long does a furnace replacement typically take?
Most residential furnace replacements take four to eight hours for a straightforward swap. High-efficiency systems requiring new PVC venting or electrical upgrades can take longer.
Do I need a permit to replace my furnace?
Yes, in most jurisdictions a permit is required for furnace replacement. Your licensed contractor should pull the permit before work begins and schedule the required inspections.
What does commissioning a new furnace involve?
Commissioning includes testing ignition, measuring airflow and temperature rise, verifying safety controls, and confirming the thermostat operates correctly through a full heating cycle. It confirms the system is safe and ready for regular use.
Can mismatched furnace components void my warranty?
Yes. Installing a furnace with a non-certified or mismatched air handler can void the manufacturer’s warranty and reduce system efficiency. Always verify AHRI certification for matched system components before installation.