
Choosing a new HVAC system for your Kansas City home can feel overwhelming when comfort and energy efficiency are at stake. Every detail matters, from evaluating your square footage and insulation to selecting a system tailored for the regional climate. This guide walks you through each important step with professional load calculation tips, smart system comparisons, and expert-backed strategies for a smooth, reliable installation that keeps your spaces comfortable year-round.
Table of Contents
- Step 1: Assess Home Requirements and Choose HVAC System
- Step 2: Prepare Installation Site and Gather Equipment
- Step 3: Install Indoor and Outdoor HVAC Components
- Step 4: Connect Electrical and Ductwork Systems
- Step 5: Test, Inspect, and Finalize Installation
Complete Home HVAC Installation Guide: 5 Simple Steps
| Key Point | Explanation |
|---|---|
| 1. Assess Home Needs | Evaluate factors like square footage and insulation quality to choose the right HVAC system. |
| 2. Gather Installation Equipment | Prepare essential tools and materials ahead of the HVAC installation for a streamlined process. |
| 3. Ensure Proper Electrical Connections | Secure and correct wiring is crucial for the safe operation of your HVAC system. |
| 4. Thoroughly Test System | Perform comprehensive tests to confirm the HVAC system operates efficiently and reliably. |
| 5. Document Installation Process | Keep records of your installation for future maintenance and warranty purposes. |
Step 1: Assess Home Requirements and Choose HVAC System
Selecting the right HVAC system begins with a thorough understanding of your home’s unique heating and cooling requirements. This critical first step ensures you invest in a system that provides optimal comfort, energy efficiency, and long-term performance.
To accurately assess your home’s needs, you’ll want to evaluate several key factors. Heat pump system considerations play a crucial role in determining the most suitable HVAC solution. Start by examining these essential elements:
- Square footage of your living space
- Home insulation quality
- Number of windows and their energy efficiency
- Local climate conditions
- Existing ductwork configuration
- Number of floors and room layout
Professional HVAC designers recommend calculating precise heating and cooling loads using detailed methodologies. These calculations help determine the exact system capacity needed for your specific home environment.
Accurate load calculations are the foundation of an effective HVAC system selection.
Consider the different types of systems available, such as:
- Traditional split system air conditioners
- Heat pump systems
- Ductless mini-split systems
- Geothermal heat pumps
Each system offers unique advantages depending on your home’s specific characteristics. For instance, homes with limited ductwork might benefit from ductless mini-split systems, while properties in moderate climates could excel with heat pump technology.
Pro tip: Consult a professional HVAC technician to perform a comprehensive home assessment and load calculation before making your final system selection.
Here’s a comparison of common HVAC system types and their ideal use cases:
| System Type | Best For | Key Benefit |
|---|---|---|
| Split System Air Conditioner | Homes with existing ductwork | Reliable cooling and heating |
| Heat Pump System | Moderate climates | High energy efficiency |
| Ductless Mini-Split | Homes without ductwork | Flexible installation |
| Geothermal Heat Pump | Eco-conscious homeowners | Lowest long-term costs |
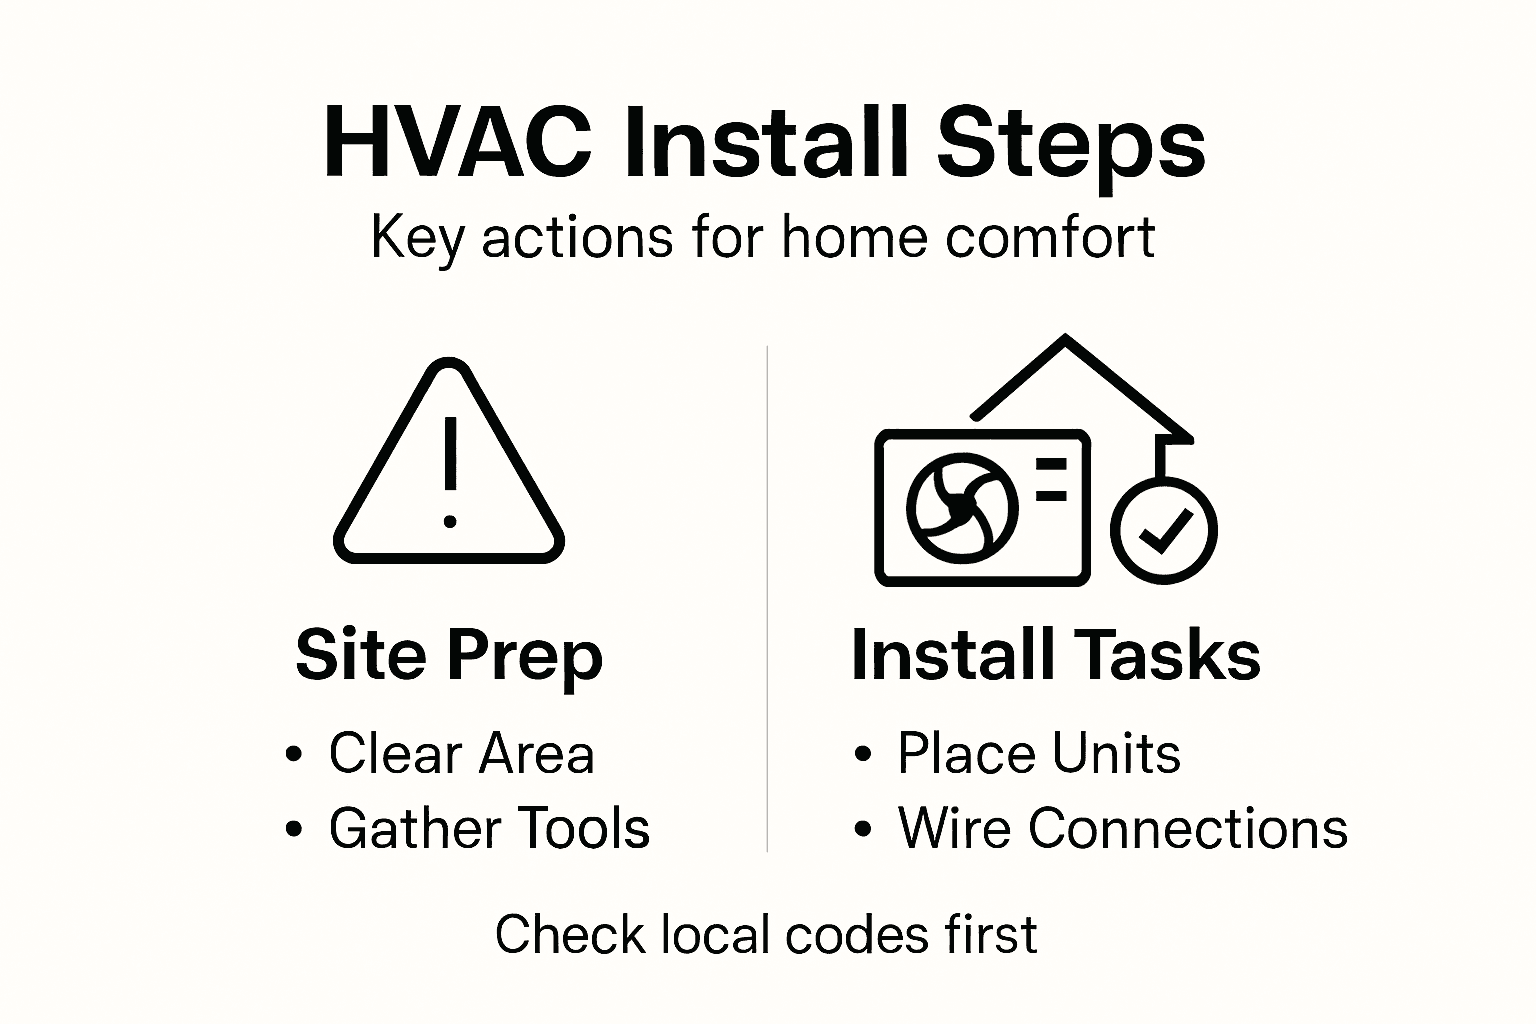
Step 2: Prepare Installation Site and Gather Equipment
Preparing your home for HVAC installation is a crucial step that ensures a smooth, efficient, and safe equipment placement. Site preparation fundamentals are critical to creating an optimal environment for your new heating and cooling system.
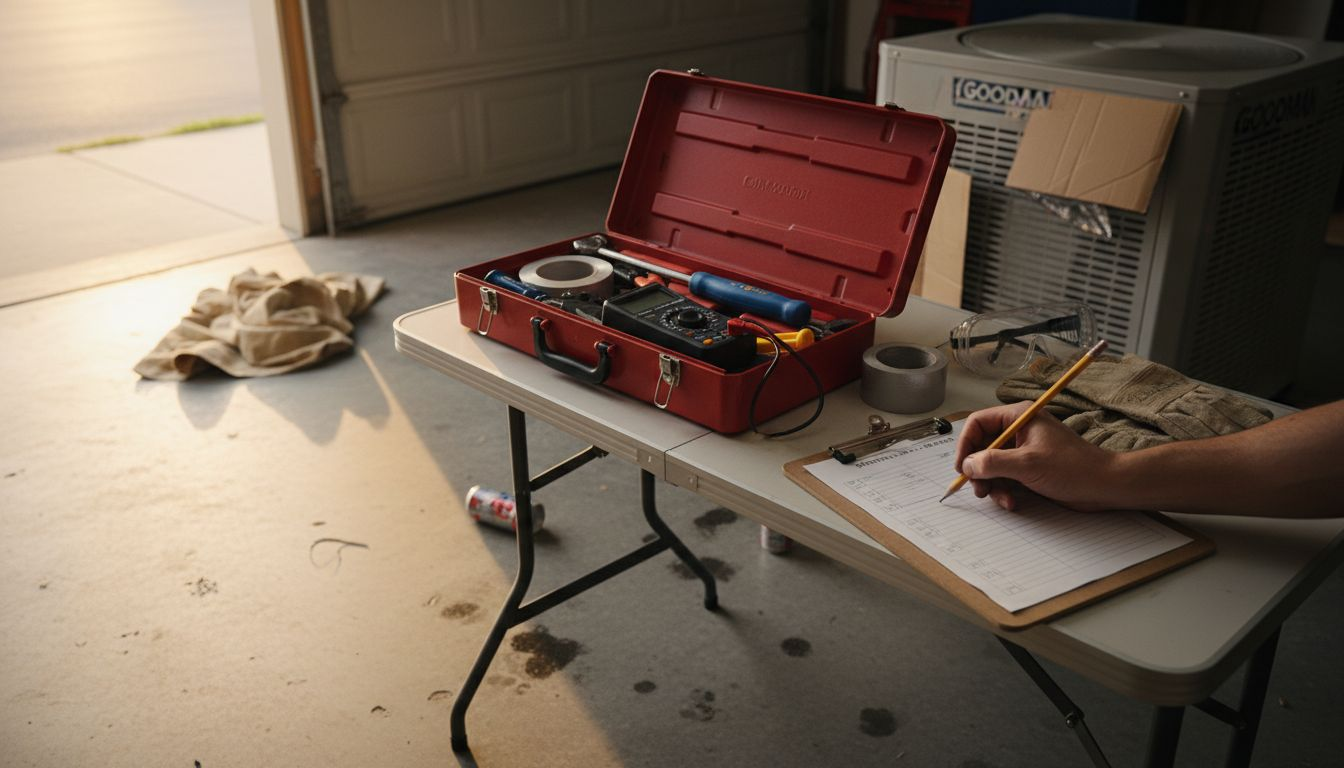
Before beginning the installation, you’ll need to gather all necessary equipment and create a clean, accessible workspace. Here are the key components and preparation steps:
Equipment Checklist:
- Measuring tape
- Level
- Drill and drill bits
- Mounting brackets
- Refrigerant lines
- Electrical cables
- Safety equipment (gloves, goggles)
- Appropriate tools for your specific system
Start by clearing the installation area of any obstacles. For indoor units, this means removing furniture, protecting floors, and ensuring proper ventilation. Outdoor unit locations require careful consideration of several factors:
- Choose a level surface away from direct sunlight
- Ensure at least 2-3 feet of clearance around the unit
- Protect the area from potential water accumulation
- Verify local building codes and placement restrictions
Proper site preparation is the foundation of a successful HVAC installation.
Take time to carefully inspect the installation site for any potential challenges. Check electrical connections, verify structural support for mounting, and assess potential routing for refrigerant lines and drainage.
Pro tip: Create a detailed site diagram before beginning installation, marking exact equipment locations, electrical connections, and potential obstacles.
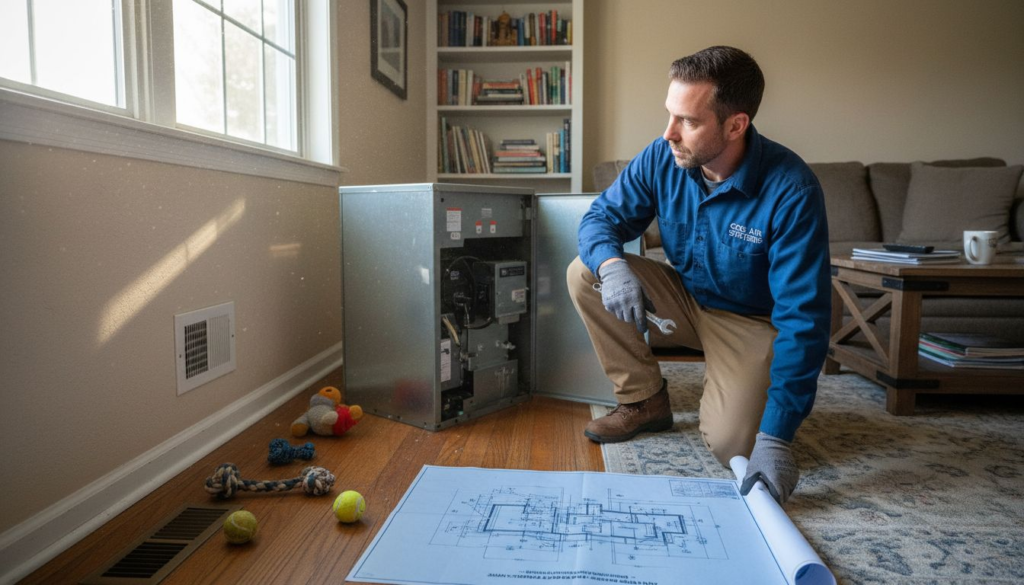
Step 3: Install Indoor and Outdoor HVAC Components
Installing your HVAC system requires precision, careful planning, and adherence to professional installation standards and practices. This critical step involves strategically placing and connecting both indoor and outdoor components to ensure optimal system performance.
Begin by preparing the indoor air handler, which serves as the central unit for distributing heated or cooled air throughout your home. Here are the key installation steps:
Indoor Component Installation:
- Locate the air handler in a clean, accessible area
- Ensure proper mounting on a stable, level surface
- Check electrical connections and grounding
- Verify refrigerant line connection points
- Install drainage systems for condensate removal
For outdoor unit placement, consider these crucial factors:
- Select a level concrete pad or mounting platform
- Maintain recommended clearance from walls and obstacles
- Protect the unit from direct sunlight and potential debris
- Ensure stable, vibration-free mounting
Precise component placement is essential for maximum HVAC system efficiency.
Connect refrigerant lines carefully, ensuring tight and secure connections between indoor and outdoor units. Use appropriate insulation and sealing techniques to prevent energy loss and maintain system integrity.
Pay close attention to electrical connections, following manufacturer specifications and local building codes. Proper wiring is critical for safe and reliable system operation.
Pro tip: Double-check all connections and perform a comprehensive system test before finalizing the installation to catch any potential issues early.
Step 4: Connect Electrical and Ductwork Systems
Connecting your HVAC system’s electrical and ductwork components requires precision and careful attention to detail. Understanding electrical wiring components for HVAC systems is crucial for ensuring safe and efficient installation.
Begin with the electrical connections, which form the critical backbone of your HVAC system’s operational capability. Key steps include:
Electrical Connection Checklist:
- Shut off main power supply
- Verify voltage and amperage requirements
- Install circuit breakers specific to HVAC system
- Connect thermostat wiring
- Ground all electrical components
- Test electrical connections before final system activation
For ductwork installation, follow these systematic steps:
- Measure and cut duct sections precisely
- Seal all duct joints with high-quality metallic tape
- Insulate ductwork to prevent energy loss
- Align ducts to minimize bends and restrictions
- Verify proper airflow through entire duct system
Proper electrical and ductwork connections are essential for optimal HVAC performance.
Ensure that electrical connections match manufacturer specifications and local building codes. Use appropriate wire gauges, connectors, and follow recommended routing techniques to maintain system safety and efficiency.
Pay special attention to the interface between electrical components and ductwork, ensuring smooth integration and minimal resistance to airflow.
Pro tip: Always use a multimeter to verify electrical connections and perform a comprehensive system test before completing the installation.
Step 5: Test, Inspect, and Finalize Installation
The final stage of your HVAC installation involves comprehensive testing and system verification to ensure optimal performance and reliability. This critical phase transforms your carefully installed components into a fully functional home comfort system.
Begin with a systematic inspection of all installed components, checking for any potential issues or misalignments:
Comprehensive Inspection Checklist:
- Verify all electrical connections are secure
- Check refrigerant line connections
- Inspect ductwork for proper sealing
- Confirm thermostat functionality
- Examine mounting brackets and supports
- Verify drainage system installation
Proceed with a detailed performance testing sequence:
- Turn on the system and monitor initial startup
- Check temperature output at various vents
- Measure airflow rates in different rooms
- Test heating and cooling cycles
- Verify system response to thermostat settings
Thorough testing ensures your HVAC system delivers maximum comfort and efficiency.
Functional Testing Steps:
Ensure all system controls operate smoothly and precisely. Listen for any unusual sounds, check for consistent temperature distribution, and monitor the system’s overall performance during extended operation.
Document your installation process, noting any adjustments made and keeping all manufacturer documentation for future reference. Proper documentation protects your warranty and provides valuable information for future maintenance.
Pro tip: Schedule a professional final inspection to validate your installation and identify any potential subtle issues that might have been overlooked during self-testing.
This summary outlines the impact of key installation steps on HVAC system performance:
| Installation Step | Impact on Performance | Potential Issues Avoided |
|---|---|---|
| Proper site preparation | Ensures safe, efficient placement | Prevents installation delays |
| Precise load calculation | Delivers optimal comfort | Avoids undersizing/oversizing |
| Secure electrical connection | Provides reliable system operation | Reduces risk of malfunctions |
| Thorough testing and inspection | Maximizes system efficiency | Identifies hidden installation errors |
Take the Stress Out of Your HVAC Installation with Trusted Local Experts
Installing a new HVAC system can feel overwhelming when faced with critical tasks like precise load calculations, site preparation, and secure electrical connections. You want reliable performance and energy efficiency without the hassle of guesswork or mistakes. At KC Air Control, we understand these challenges and offer professional solutions tailored to your home’s unique needs.
Explore our comprehensive services on the Uncategorized – Air Control page and discover how over 70 years of hands-on experience can bring you peace of mind during installation, maintenance, or repairs. Don’t risk costly errors or discomfort. Visit KC Air Control today to schedule expert guidance and take the first step toward lasting home comfort.
Frequently Asked Questions
What are the first steps in installing an HVAC system for home comfort?
Start by assessing your home’s heating and cooling requirements. Evaluate factors like square footage, insulation quality, and local climate to determine the best system type.
How do I prepare my home for HVAC installation?
Clear the installation site of any obstacles and gather all necessary equipment. Ensure the area is clean and accessible, and mark the specific locations for the indoor and outdoor units.
What should I include in my site preparation for HVAC installation?
Include a checklist of essential tools and components like refrigerant lines, electrical cables, and safety equipment. Create a detailed site diagram marking equipment locations and potential obstacles to ensure a smooth installation process.
How can I test my HVAC system after installation?
Conduct a thorough inspection and performance testing to ensure everything is functioning correctly. Turn on the system, monitor temperature output, and check airflow rates in different rooms to confirm proper operation.
Why is it important to perform load calculations for HVAC systems?
Accurate load calculations are critical to selecting the right system size for your home. They help prevent issues like energy inefficiency and discomfort by ensuring your HVAC system is neither undersized nor oversized.
What electrical connections need to be made during HVAC installation?
Connect thermostat wiring, install circuit breakers, and ensure all electrical components are securely grounded. Always verify voltage and amperage requirements to ensure safe and effective operation of your HVAC system.
Pingback: Emergency HVAC Troubleshooting: Restore Home Comfort Fast - Air Control