
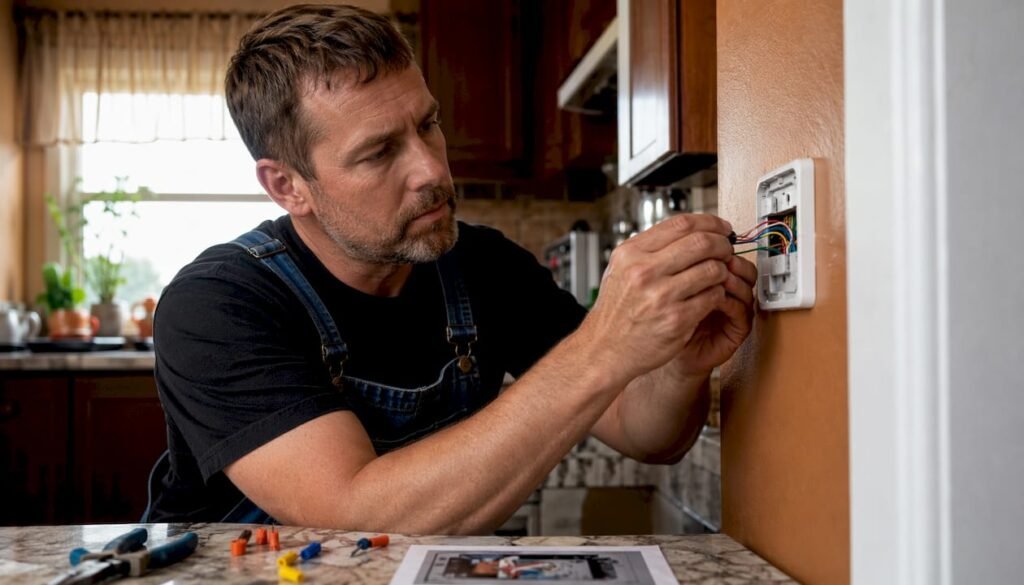
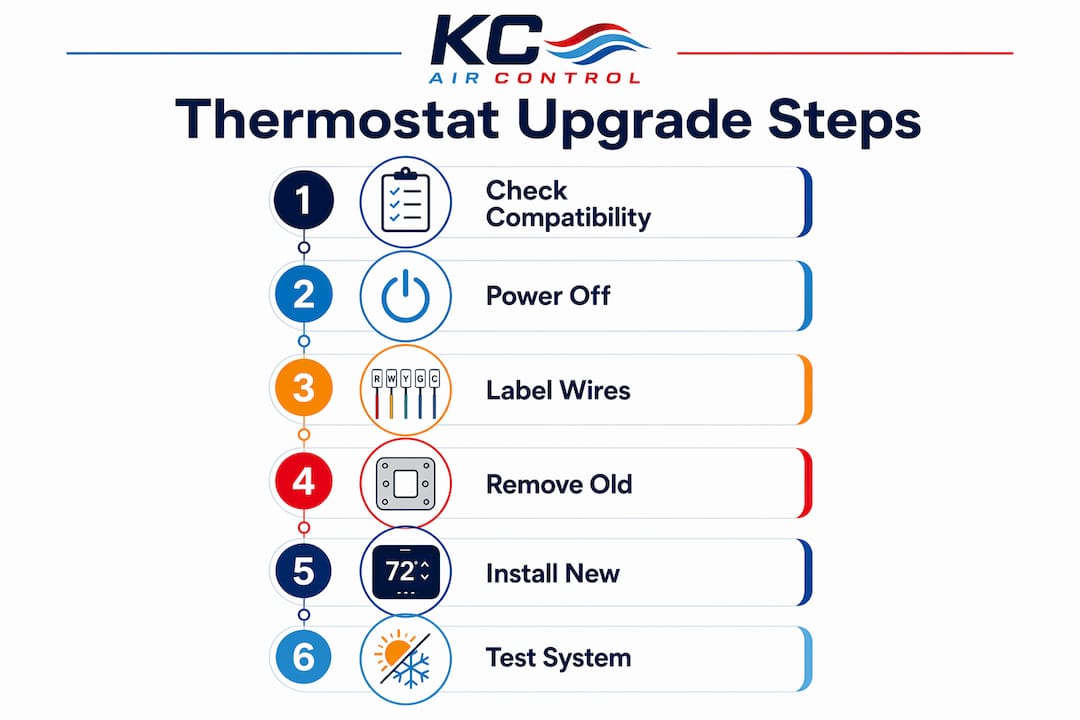
A step by step thermostat upgrade is something most homeowners can complete in under two hours with basic tools and a little patience. The full process breaks down like this:
- Turn off power at the main circuit breaker before touching anything
- Photograph and label every wire on your existing thermostat before disconnecting
- Remove the old thermostat faceplate and base carefully
- Mount the new base plate level on the wall, using anchors for drywall
- Connect labeled wires to the correct terminals on the new unit
- Attach the thermostat display and restore power at the breaker
- Complete setup using the manufacturer’s app for Wi-Fi, scheduling, and system configuration
Accuracy during the wiring step is what separates a smooth installation from a frustrating callback. Every wire has a terminal letter, and that letter matters far more than the wire’s color.
Pro Tip: Before disconnecting any wire, wrap all the wires around a pencil or tape them to the wall plate. Wires that slip back into the wall cavity are genuinely difficult to retrieve, and this one habit prevents that headache entirely.
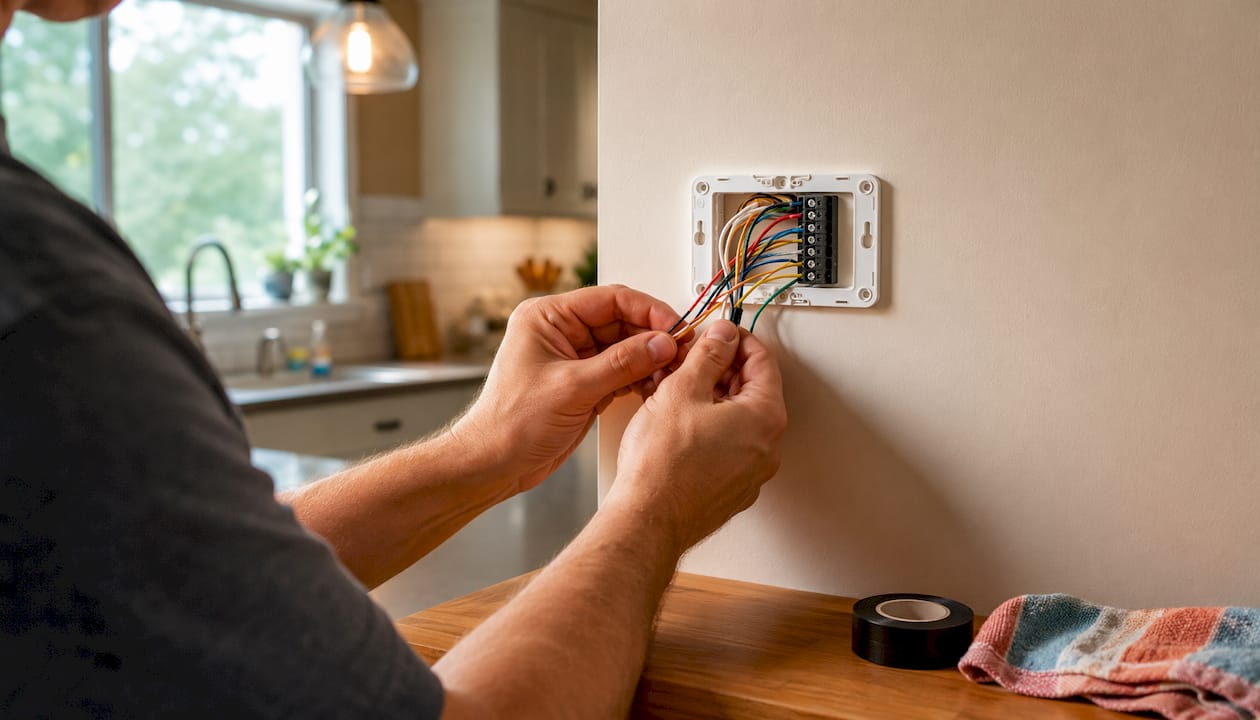
Table of Contents
- Safety first: what you need to do before touching your thermostat
- How to remove your old thermostat without losing a wire
- Installing your new programmable or smart thermostat
- Testing, troubleshooting, and final adjustments
- What Kcaircontrol’s HVAC experts want you to know
- Kcaircontrol handles your thermostat upgrade when the wiring gets complicated
- Key Takeaways
Safety first: what you need to do before touching your thermostat
Skipping the safety prep is where DIY thermostat replacements go wrong. The steps below protect both you and your HVAC equipment.
Power and tools
Turning off power at the main circuit breaker and confirming it with a non-contact voltage tester is the single most important action before you start. Thermostat wiring is low-voltage, but the HVAC control board it connects to is not, and an accidental short can damage expensive equipment.
Gather everything before you open the old thermostat:
- Non-contact voltage tester
- Flathead and Phillips screwdrivers
- Drill with bits (for new mounting holes if needed)
- Level (many new thermostats include a built-in bubble level)
- Needle-nose pliers
- Masking tape and a marker for labeling wires
- Smartphone for photos
Compatibility check
Confirm your new thermostat works with your HVAC system before you buy it. Most manufacturers offer an online compatibility checker where you enter your existing wire terminals. High-voltage systems (labeled 120V or 240V, or with thick wires and wire nuts) are not compatible with standard programmable or smart thermostats. Check your current thermostat’s label if you are unsure.
Installing a smart thermostat in a home with an incompatible system is a common and avoidable mistake. If your system uses stranded wires or high-voltage connections, stop and call a professional.
Placement and environment
Professional installers recommend avoiding thermostat locations exposed to direct sunlight, drafts from doors or windows, or heat from lamps and appliances. These factors cause the thermostat to misread your home’s actual temperature and run your system inefficiently.
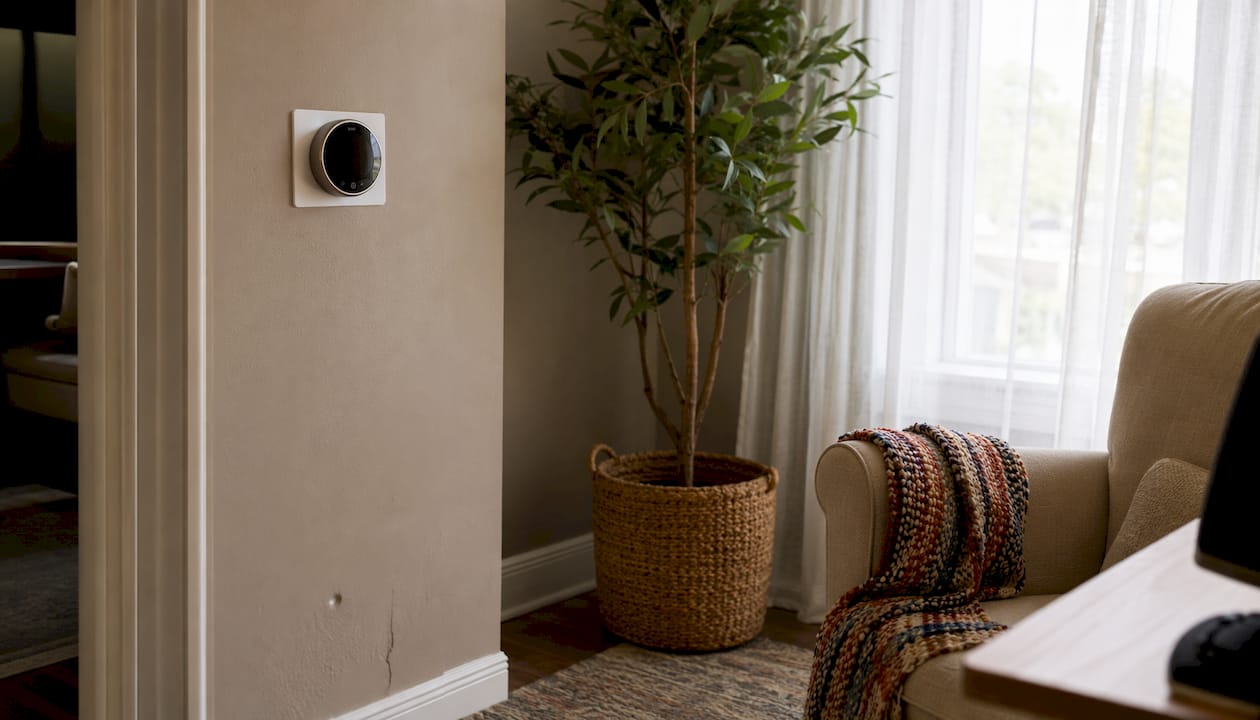
Pro Tip: If your current thermostat is in a poor location, a thermostat upgrade is the right time to relocate it. Rewiring to a better spot is a job for a licensed HVAC technician, but the payoff in system accuracy is worth it.
How to remove your old thermostat without losing a wire
Careful removal sets up everything that follows. Rushing this step is the most common cause of installation errors.
-
Remove the faceplate. Most faceplates pop off by pulling gently from the bottom. Some older models require unscrewing. Set it aside without pulling on the wires.
-
Photograph the wiring thoroughly. Take multiple photos from different angles. Make sure every terminal letter is legible in at least one shot. This photo is your insurance policy for the entire installation.
-
Label each wire by terminal letter. Use masking tape and a marker. Write the terminal letter (R, G, Y, W, C, etc.) directly on the tape wrapped around each wire. Label wires by terminal letters, not by color, because wire colors are not standardized across manufacturers or installation eras.
-
Disconnect wires one at a time. Loosen the terminal screw or press the release button, remove the wire, and confirm the label is secure before moving to the next one.
-
Secure wires immediately after disconnecting. Wrap wires around a pencil or tape them to the wall so they cannot fall back into the wall cavity.
-
Remove the old mounting plate. Unscrew it from the wall. Note whether there is an electrical box behind it. If there is, you will need a steel adapter plate to mount the new base correctly.
-
Inspect the wall area. Check for damage, old anchors, or gaps around the wire hole. Seal any large gaps with non-flammable foam or putty to prevent drafts from affecting temperature readings.
Installing your new programmable or smart thermostat
With labeled wires secured and the old base removed, the installation moves quickly when you follow the sequence below.
-
Feed wires through the new base plate hole. Pull them through gently so you have enough slack to work with at the terminals.
-
Level and mount the base plate. Use the built-in bubble level if your new thermostat includes one. Mark screw positions, drill pilot holes, and insert wall anchors for drywall. When mounting on an electrical box, secure a steel adapter plate to the box first, then attach the thermostat base to the plate.
-
Connect wires to the correct terminals. Match each labeled wire to its corresponding terminal on the new base. Press each wire firmly into its connector until the button stays depressed or the screw is snug. Gently tug each wire to confirm it is seated.
-
Verify against your photos and the wiring diagram. Incorrectly connected wires can damage the HVAC control board, so cross-check every terminal against your original photo and the manufacturer’s wiring diagram before proceeding.
-
Address C-wire requirements. Many modern smart thermostats require a C-wire for continuous power. If your system lacks one, a power extender kit is the most common solution. Homes built before 2000 often lack a C-wire, making this one of the most frequent obstacles in smart thermostat installations.
-
Attach the thermostat display. Press it onto the base until it clicks into place. For models with a battery tab (like the Google Nest Thermostat), pull the tab to activate the display.
-
Restore power at the circuit breaker. The thermostat should power on within seconds.
-
Complete setup using the manufacturer’s app. Thermostat installation apps guide you through compatibility checks, wiring verification, Wi-Fi connection, system type selection, and schedule creation. The Google Home app, for example, walks through each step and can detect whether wires are properly connected before you finish setup.
Pro Tip: If a wire is not seating firmly, strip an additional 3/8 inch of insulation and straighten the exposed copper before reinserting. Loose connections cause intermittent heating or cooling failures that are frustrating to diagnose after the fact.
Common tools and materials for this stage:
- Needle-nose pliers (for straightening wire ends)
- Wire stripper (if additional stripping is needed)
- Steel adapter plate (if an electrical box is present)
- Power extender kit (if no C-wire exists)
- Manufacturer’s app downloaded and ready on your phone
Testing, troubleshooting, and final adjustments
Once the thermostat is powered on and the app setup is complete, run a full system test before calling the job done.
- Test heating mode. Set the temperature several degrees above the current room temperature and confirm the furnace activates within a few minutes.
- Test cooling mode. Set the temperature below the current room temperature and verify the air conditioner kicks on.
- Test fan mode. Run the fan independently to confirm the blower operates without triggering heating or cooling.
- Check for a blank or unresponsive display. This usually points to a loose wire at the R or C terminal, or a tripped breaker. Re-check connections and confirm the breaker is fully reset.
- Confirm no error codes appear in the app. Most smart thermostat apps display specific error codes with explanations. Address any flagged wiring issues before moving on.
- Reset the HVAC system if needed. If the system does not respond after verifying wiring, turn the breaker off, wait 30 seconds, and restore power. Some HVAC control boards require a full reset after a wiring change.
- Update firmware and connect to smart home devices. After initial setup, check the app for firmware updates. Connecting to platforms like Google Home or Amazon Alexa is typically done within the same app during or immediately after setup.
- Calibrate temperature if readings seem off. Many programmable thermostats allow a temperature offset adjustment in settings. A few degrees of calibration can make a real difference in comfort. For a deeper look at this, the thermostat calibration guide covers the process in full.
Testing all modes after installation is the step most homeowners skip, and it is exactly where wiring mistakes surface before they become bigger problems.
Common post-installation issues and fixes:
| Symptom | Likely Cause | Fix |
|---|---|---|
| Blank display | Loose R wire or no power | Re-seat R wire; check breaker |
| System won’t heat | W wire loose or missing | Verify W terminal connection |
| System won’t cool | Y wire issue | Check Y terminal; confirm compatibility |
| Short cycling | Wiring error or bad location | Verify all terminals; check for drafts |
| App won’t connect | Wi-Fi setup incomplete | Re-run app setup; check network |
What Kcaircontrol’s HVAC experts want you to know
With over 70 years of HVAC experience serving Kansas City homeowners, Kcaircontrol has seen every thermostat installation scenario. Most DIY upgrades go smoothly when the wiring is straightforward and a C-wire is present. But several situations genuinely call for a professional.
When to call a professional
- Your home was built before 2000 and lacks a C-wire, and you are not comfortable installing a power extender kit
- Your existing wiring is outdated, damaged, or uses non-standard configurations
- Your HVAC system is a dual-transformer setup, a heat pump with complex staging, or a multi-zone system
- The thermostat location needs to move to a better spot on the wall
- Your system uses high-voltage wiring incompatible with standard smart thermostats
Pro Tip: If you open the old thermostat and find more than five wires, or wires that do not match any standard terminal configuration, stop and call a licensed technician. Guessing on complex wiring puts your HVAC control board at risk, and that repair costs far more than a professional installation.
Benefits of professional installation through Kcaircontrol:
- Full compatibility verification before any work begins
- Correct C-wire installation or power extender kit setup
- Safe handling of older or non-standard wiring
- System test across all modes before the technician leaves
- Warranty protection on both the thermostat and HVAC system
For homes where the HVAC system itself may need attention alongside the thermostat upgrade, reviewing signs you need HVAC repair is a smart first step before scheduling any work.
Kcaircontrol handles your thermostat upgrade when the wiring gets complicated
Some thermostat upgrades are genuinely straightforward. Others reveal older wiring, missing C-wires, or HVAC systems that need more than a new thermostat to perform correctly. That is exactly where Kcaircontrol’s 70-plus years of Kansas City HVAC expertise makes the difference between a working system and a frustrating afternoon.
Kcaircontrol offers professional thermostat installation as part of a full HVAC service, meaning a licensed technician verifies compatibility, handles any wiring challenges, and tests every mode before leaving your home. No guesswork, no risk to your control board, and no callbacks. If your system needs more than a thermostat swap, Kcaircontrol’s emergency HVAC troubleshooting service gets your home comfortable again fast. Schedule your installation or service call with Kcaircontrol today at kcaircontrol.com.
Key Takeaways
A successful thermostat upgrade depends on accurate wiring documentation, correct C-wire handling, and a full system test across all modes before considering the job complete.
| Point | Details |
|---|---|
| Power off first | Always cut power at the circuit breaker and verify with a voltage tester before touching any wiring. |
| Label by terminal letter | Photograph wiring and label each wire by its terminal letter, not by color, to avoid reconnection errors. |
| C-wire is the main obstacle | Homes built before 2000 often lack a C-wire; a power extender kit or professional help resolves this. |
| Test all three modes | After installation, test heating, cooling, and fan modes individually to catch wiring issues early. |
| Kcaircontrol for complex installs | When wiring is outdated, a C-wire is missing, or the system is complex, Kcaircontrol’s licensed technicians handle the full installation safely. |