
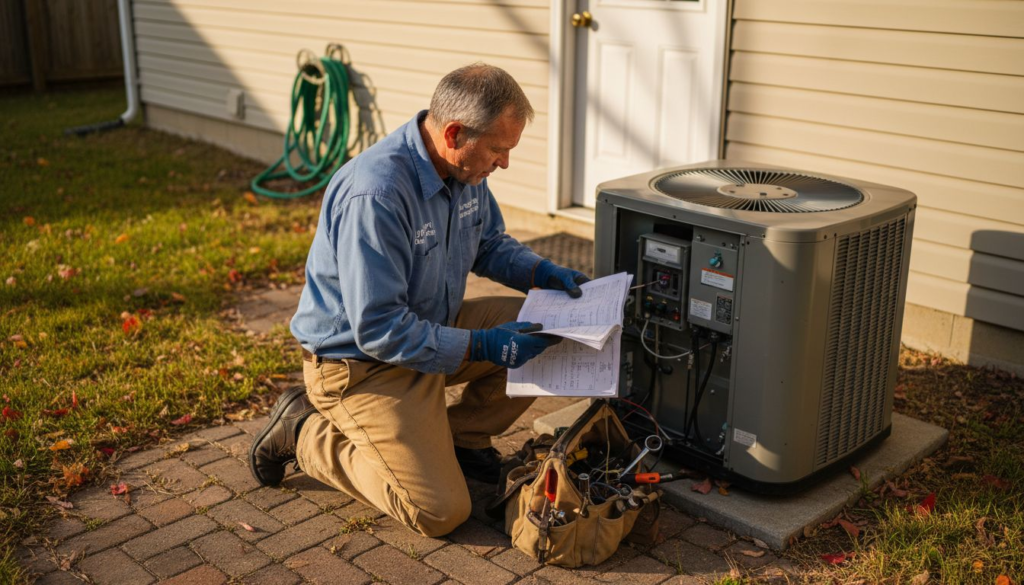
When your Kansas City home’s old HVAC system starts acting up during extreme Midwest seasons, even minor problems can grow quickly. Keeping up with seasonal maintenance is the smartest way to improve energy efficiency and avoid sudden expenses. By using the right tools, personal protective equipment, and step-by-step cleaning methods, you protect your comfort and your wallet while giving your hard-working system a chance to perform all year long.
Table of Contents
- Step 1: Gather Necessary Tools And Safety Gear
- Step 2: Inspect And Replace Air Filters
- Step 3: Clean HVAC Components And Vents
- Step 4: Test System Functionality And Performance
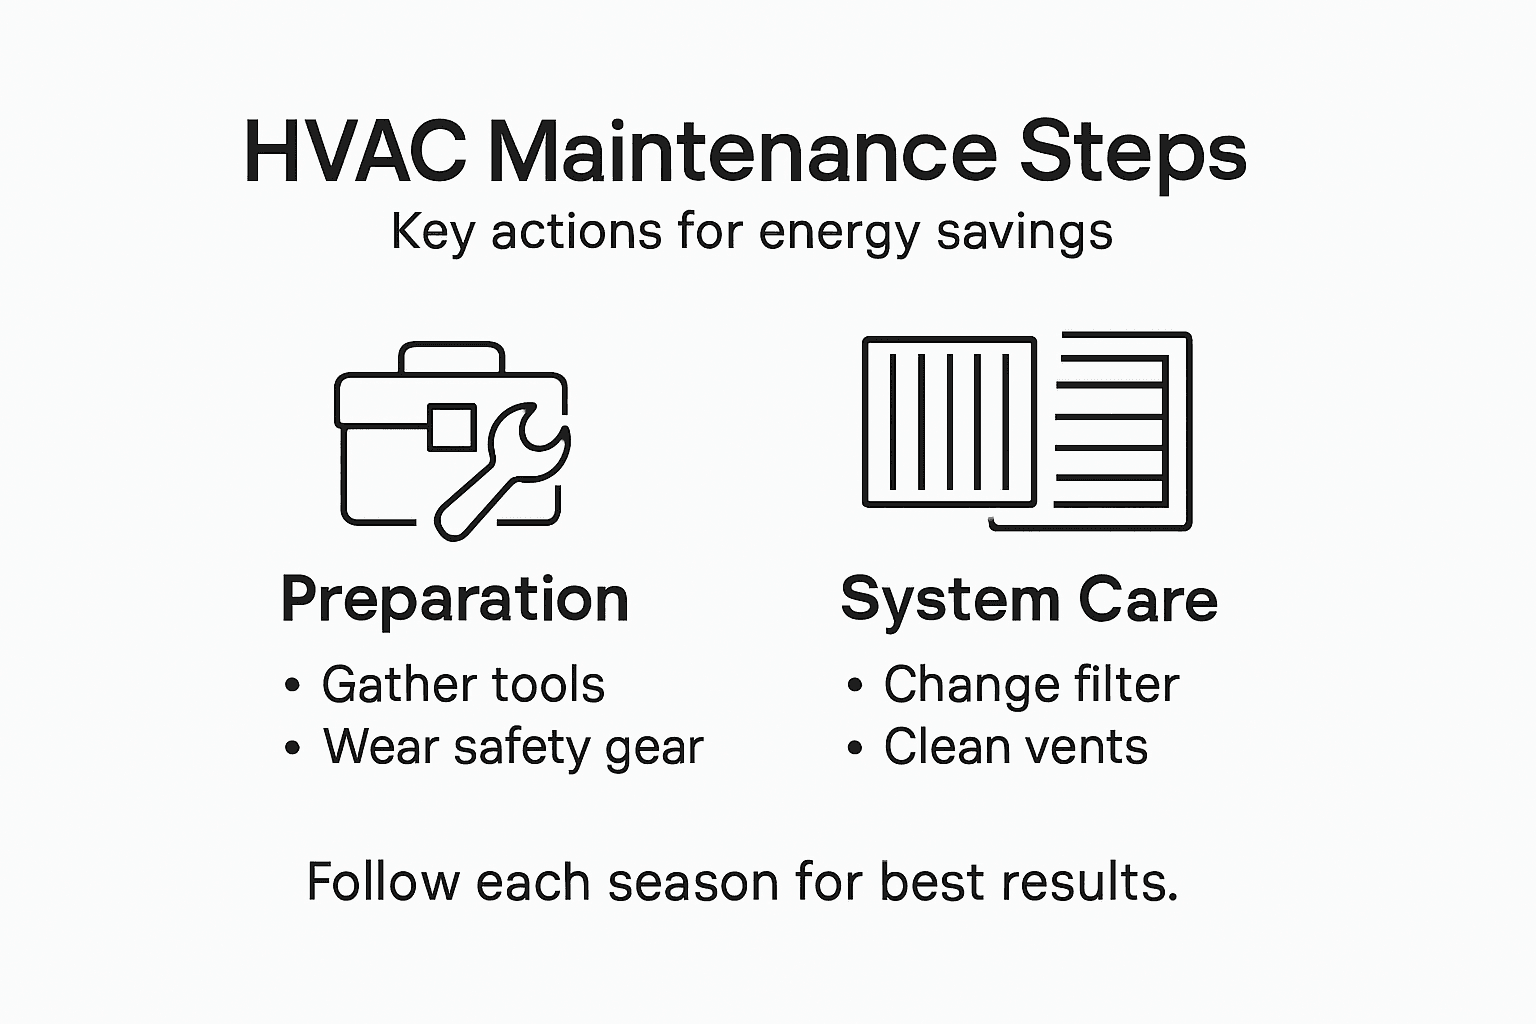
4 Essential Seasonal HVAC Maintenance Steps
| Key Point | Explanation |
|---|---|
| 1. Gather essential tools and PPE | Collect necessary hand tools and personal protective equipment to ensure safety and efficiency during HVAC maintenance tasks. |
| 2. Regularly inspect and replace air filters | Check air filters every three to twelve months. Replace them to maintain air quality and system efficiency. |
| 3. Clean HVAC components and vents | Remove dust and debris from vents and parts to improve airflow and reduce energy costs, promoting healthier air quality. |
| 4. Test system functionality post-maintenance | Verify your HVAC system’s operation by testing and ensuring it responds correctly to temperature adjustments and runs efficiently. |
Step 1: Gather necessary tools and safety gear
Before you start your seasonal HVAC maintenance, you need the right equipment and protection. Gathering your tools and safety gear upfront keeps you safe, efficient, and ready to work on your heating and cooling system confidently.
Start by collecting the basic hand tools you’ll need. Most HVAC maintenance tasks require simple items like Allen wrenches for adjusting components, a cordless drill for removing access panels, a hammer for minor adjustments, and a flashlight or headlamp to see into dark areas of your system.
Here’s what your basic toolkit should include:
- Allen wrenches in various sizes
- Cordless drill with bits
- Flashlight or headlamp with extra batteries
- Hammer or mallet
- Screwdrivers (both Phillips and flathead)
- Adjustable wrench
- Duct tape and electrical tape
- Vacuum with brush attachment
Now comes the critical part: personal protective equipment (PPE). HVAC systems contain dust, debris, and sometimes refrigerant residue that can harm you if you’re not protected. Personal protective equipment such as gloves, safety glasses, respirators, and coveralls minimizes your exposure to these hazards and keeps you safe during maintenance work.
Make sure you have these safety items ready:
- Work gloves (preferably nitrile or leather)
- Safety glasses with side protection
- Dust mask or respirator rated for HVAC work
- Coveralls or work clothing you don’t mind getting dirty
- Closed-toe work boots
- Hearing protection (for louder equipment)
Your safety gear isn’t optional—it’s what stands between you and potential injury or health issues from HVAC system hazards.
Check your garage or toolbox before heading to the store. You probably already own some of these items. This prevents duplicate purchases and saves you money before you even start maintaining your heating or cooling system.
Pro tip: Store all your HVAC tools and safety gear in one labeled container or bag so you can grab everything at once when maintenance season arrives—no hunting through drawers while your system needs attention.
Step 2: Inspect and replace air filters
Your air filter is one of the hardest working components in your HVAC system. A clean filter keeps air flowing efficiently through your heating or cooling system while protecting indoor air quality for your Kansas City home.
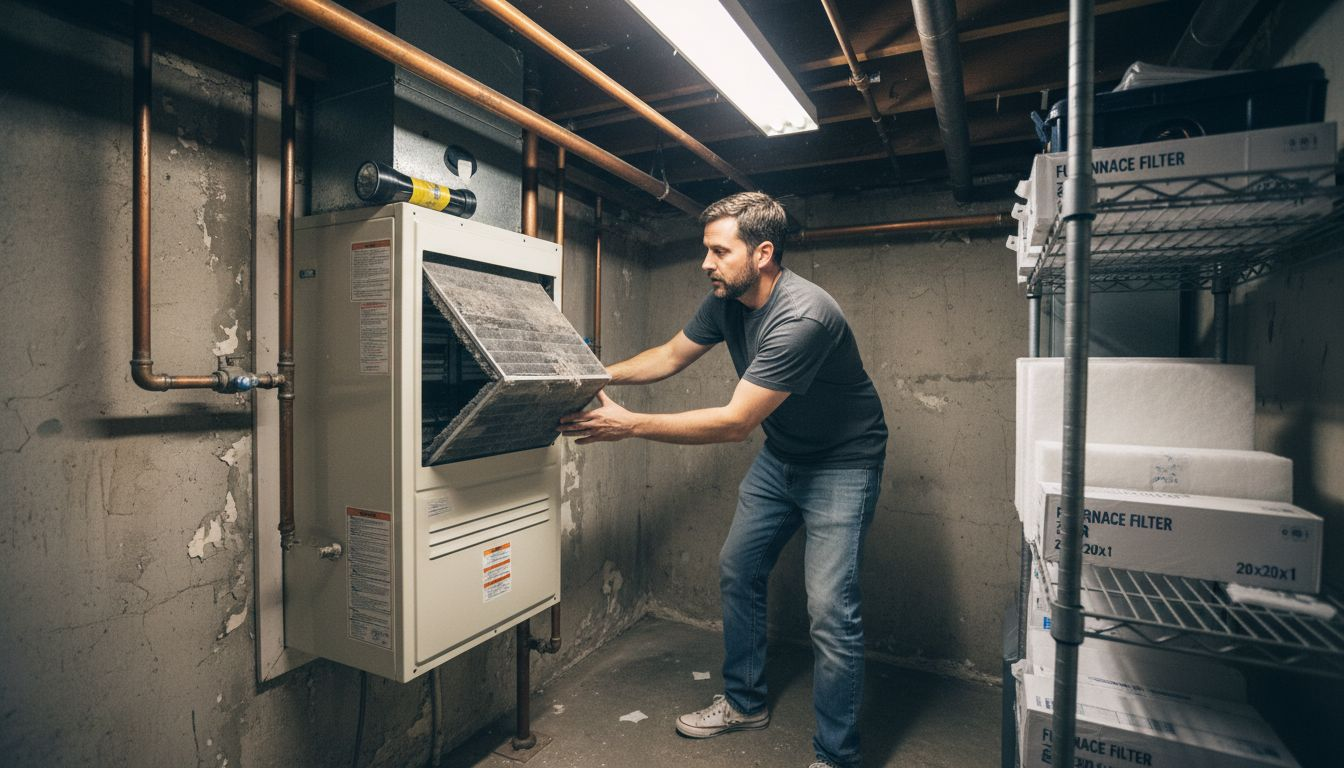
Start by locating your air filter. Most residential systems have a filter housed in a return air duct or blower compartment, often in a basement, attic, or utility closet. Open the access panel and note the filter’s size, which is printed on its frame as dimensions like 16x25x1 or 20x25x4.
Now inspect the current filter for visible dirt and debris. Hold it up to natural light and look through it. If you see a thick layer of dust or the filter appears dark gray or brown instead of white, it needs replacement immediately. Even if the filter doesn’t look clogged, air filters typically require replacement every three to twelve months depending on thickness and household conditions.
When it’s time to replace:
- Turn off your HVAC system before removing the old filter
- Note the direction arrow on the filter frame
- Slide out the old filter and dispose of it
- Install the new filter with the arrow pointing toward your furnace or air handler
- Close the access panel and restart your system
Choose a filter rated MERV 13 or higher for better filtration and improved indoor air quality without sacrificing airflow. This rating balances protection and efficiency for most homes. Mark your calendar or set a phone reminder for when to check your filter again.
Here’s a quick comparison of common HVAC air filter types and their typical performance impacts:
| Filter Type | Filtration Quality | Replacement Frequency | Impact on Airflow |
|---|---|---|---|
| Fiberglass | Basic dust removal | 1-2 months | Minimal resistance |
| Pleated | Traps smaller particles | 2-4 months | Moderate resistance |
| High-Efficiency | Captures allergens | 3-6 months | Higher resistance, needs strong system |
| HEPA | Maximum particle removal | 6-12 months | Significant airflow reduction |
A clogged filter forces your system to work harder, consuming more energy and raising your utility bills faster than you’d expect.
Kansas City’s seasonal changes affect filter life. During winter heating and summer cooling seasons, your system runs more frequently, so filters get dirty faster. Plan for more frequent checks during peak seasons.
Pro tip: Buy several replacement filters in advance and store them in a dry location so you’re never caught without one when your current filter needs changing.
Step 3: Clean HVAC components and vents
Dust and debris accumulate inside your vents and HVAC components over time, reducing airflow and forcing your system to work harder. Cleaning these areas improves efficiency, lowers energy costs, and protects the indoor air quality of your Kansas City home.
Start by identifying all accessible vents in your home. Walk through each room and locate supply vents (where air comes out) and return vents (where air gets pulled back in). These are typically in walls, ceilings, or floors. Check them for visible dust buildup or blockages.
Gather your cleaning tools before you start. You’ll need a vacuum cleaner with an extension hose and brush attachment, microfiber cloths for gentle wiping, and soft-bristled brushes for delicate areas. Avoid harsh or abrasive materials that could damage ductwork or fins.
Here’s how to clean your vents and components:
- Turn off your HVAC system before cleaning
- Use your vacuum with the brush attachment on vent grilles to remove surface dust
- Wipe vent covers with a microfiber cloth to capture remaining particles
- For supply vents, vacuum as far into the duct as your hose reaches
- Use a soft brush to gently clean around fan blades and coils if accessible
- Restart your system and listen for improved airflow
Don’t forget your furnace blower compartment. This area collects significant dust that circulates through your entire system. Regular cleaning of air vents and components prevents dust and allergen accumulation that degrades indoor air quality and strains your equipment.
Clean vents mean better airflow, lower energy bills, and healthier air for your family to breathe.
Pay special attention to return air vents, which pull air from your living spaces back to the furnace. These collect pet hair, dust, and household allergens that need regular removal.
If you notice excessive debris or mold growth inside ducts during cleaning, professional duct cleaning may be necessary. This goes beyond seasonal maintenance and requires specialized equipment.
Pro tip: Clean your return air vents monthly and supply vents quarterly to maintain consistent airflow and catch problems early before they affect system performance.
Step 4: Test system functionality and performance
After your cleaning and maintenance work, you need to verify that your HVAC system operates correctly and efficiently. Testing confirms your heating or cooling system performs as intended and catches any problems before they become expensive repairs.
Start by turning on your system and letting it run for at least 15 minutes. Listen for unusual noises like grinding, squealing, or rattling that might indicate mechanical issues. Your system should operate smoothly without startling sounds.
Next, check temperature consistency throughout your home. Walk from room to room with a thermometer and compare readings. All areas should reach your set temperature within a reasonable timeframe. If some rooms stay significantly warmer or cooler than others, you may have airflow imbalance issues.
Test these key functions:
- Thermostat responds correctly to temperature adjustments
- System switches smoothly between heating and cooling modes
- Blower fan operates at normal speed without vibration
- Air flows steadily from all supply vents
- Return vents pull air without blockage
- System cycles on and off appropriately
Measure your system’s efficiency by noting how long it takes to reach your desired temperature from startup. Slower heating or cooling than usual suggests reduced efficiency. Testing system functionality helps detect faults that waste energy and compromise performance during seasonal operation.
A properly functioning system reaches your target temperature efficiently and maintains it without excessive cycling.
Check your thermostat display for error codes or warning messages. Older Kansas City homes might have basic thermostats without digital displays, so look for unusual behavior like frequent on-off cycles or failure to maintain temperature.
If you notice your system struggles to reach temperature, cycles constantly, or produces weak airflow despite cleaning, contact a professional. These signs indicate mechanical problems that need expert diagnosis.
Pro tip: Write down your system’s performance baseline now (how quickly it heats or cools, normal runtime) so you can recognize performance decline earlier in future seasons.
To help prioritize seasonal HVAC maintenance, here’s a summary of benefits for each step:
| Maintenance Step | Key Benefit | Efficiency Impact |
|---|---|---|
| Tools & Safety Gear | Prevents injury, speeds work | Ensures safe, fast repairs |
| Filter Inspection/Change | Improves air quality | Cuts energy use, protects system |
| Component & Vent Cleaning | Reduces dust & allergens | Boosts airflow, lowers bills |
| Performance Testing | Detects system issues early | Maintains optimal operation |
Keep Your Kansas City Home Comfortable and Efficient Year-Round
Seasonal HVAC maintenance is essential to avoid costly repairs and keep your home energy efficient. Common challenges include clogged air filters, dust buildup in vents, and unnoticed system malfunctions that drive up energy bills and reduce indoor air quality. If you want to prevent these issues and ensure your HVAC system runs safely and smoothly every season, expert help is just a click away. Regular upkeep with proper safety gear, filter changes, and thorough cleaning can seem overwhelming but makes a big difference in comfort and savings.
Take control of your home’s climate with trusted local professionals who understand Kansas City’s unique seasonal demands. Visit Importance Of Maintenance – Air Control to learn how routine care extends your system’s life and boosts efficiency. Ready for a smoother, healthier heating and cooling experience? Contact us now at https://kcaircontrol.com to schedule your service or explore options like duct cleaning and air quality upgrades. Don’t wait until small problems become expensive emergencies—act today for peace of mind and energy savings.
Frequently Asked Questions
What tools do I need for seasonal HVAC maintenance?
You need basic hand tools like Allen wrenches, screwdrivers, and a vacuum with a brush attachment. Gather your equipment before starting to work, ensuring you have everything needed for efficient maintenance.
How often should I change my HVAC air filter?
Replace your HVAC air filter every three to twelve months, depending on its thickness and your household conditions. Keep a reminder schedule to check the filter at least once a season, especially during peak heating or cooling months.
How can I clean my HVAC vents and components effectively?
To clean your HVAC vents effectively, turn off your system, vacuum the vent grilles, and wipe them with a damp cloth. Aim to clean your return air vents monthly and supply vents quarterly to maintain optimal airflow and air quality in your home.
How do I test my HVAC system after maintenance?
After maintenance, turn on your HVAC system and let it run for at least 15 minutes. Check for unusual noises, test temperature consistency in different rooms, and ensure airflow is steady from all supply vents to confirm proper functionality.
What are the signs that my HVAC system needs professional help?
Signs that your HVAC system needs professional assistance include slow heating or cooling, unusual noises, or a failure to maintain temperature. If you notice any of these issues, schedule a professional inspection to avoid costly repairs later on.
How can seasonal HVAC maintenance save me money?
Seasonal HVAC maintenance can save you money by improving your system’s efficiency and reducing energy costs. Regular upkeep, such as cleaning and filter replacement, can lower your energy bills by around 20% and extend the life of your equipment.
Recommended
- Why Schedule HVAC Maintenance: Protect Your Comfort – Air Control
- Furnace tune-up – Air Control
- 6 Essential Steps for a Furnace Troubleshooting Checklist – Air Control
- AC tune-up – Air Control
- 7 Essential HVAC Maintenance Checklist Tips for Homeowners – Home Therapist Cooling, Heating, and Plumbing
- HVAC DIY Maintenance How-To Guide
Pingback: Landlord HVAC Maintenance Checklist for Reliable Systems - Air Control