
TL;DR:
- Replacing your HVAC or air conditioning filter involves turning off power, locating the filter, and installing a correctly sized unit with the arrow pointing toward the blower. Regular replacement intervals depend on filter thickness and household conditions, with safety precautions like power shutdown and filter inspection emphasized. Proper installation enhances system performance, while professional support is available for persistent issues or annual maintenance.
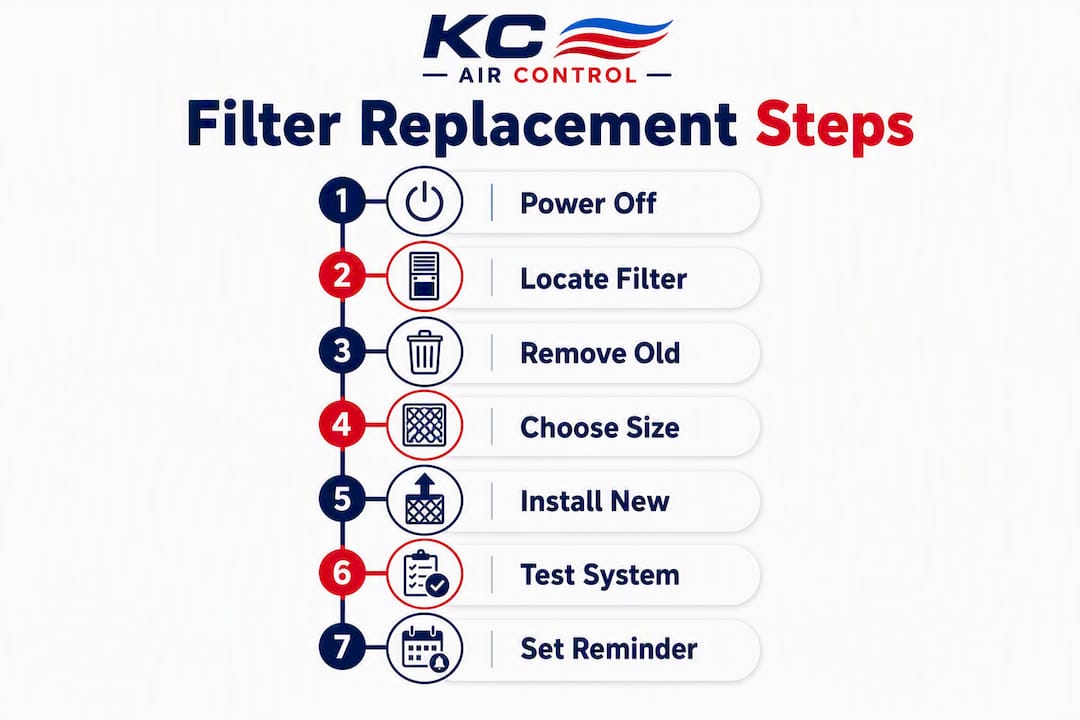
You can replace your home HVAC or AC air filter in six simple steps: turn off power, locate the filter, remove the old one, read the size, install the new filter with the arrow pointing toward the blower, then restore power and check airflow. Done right, it takes under 15 minutes and directly improves your indoor air quality and energy efficiency.
Quick replacement checklist:
- Turn off the system at the thermostat or breaker
- Locate the filter slot (return grille, air handler, or furnace cabinet)
- Slide out the old filter and bag it immediately
- Read the exact dimensions from the old frame
- Insert the new filter with the arrow facing the blower motor
- Restore power, run the system, and record the date
Replacement interval callout: 1-inch filters need replacement every 30–60 days under typical conditions; 2-inch filters every 60–90 days; 4-inch media filters up to six months. Homes with pets, smokers, or high dust levels should check filters monthly. According to Carrier, cutting power before you start is a non-negotiable safety step.
Table of Contents
- What do you need before opening the filter slot?
- Where is the air filter located in your home?
- How do you remove the old filter safely?
- How do you choose the right replacement filter?
- How do you install the new filter correctly?
- How do you verify the system is running correctly after the change?
- When should you call a professional instead of fixing it yourself?
- Why does regular filter replacement matter, and how often should you do it?
- Key Takeaways
- A professional note on DIY versus scheduled maintenance
- Kcaircontrol handles filter changes and full inspections for Kansas City homeowners
- Useful sources and further reading
What do you need before opening the filter slot?
Gather everything first so you are not hunting for tools mid-job.
Essential items:
- New replacement filter (correct size and MERV rating)
- Garbage bag for the old filter
- Flathead or Phillips screwdriver (for grille screws)
- Damp cloth or rag
- Permanent marker (to write the date on the new filter)
- Flashlight
- Step ladder if your return grille is ceiling-mounted
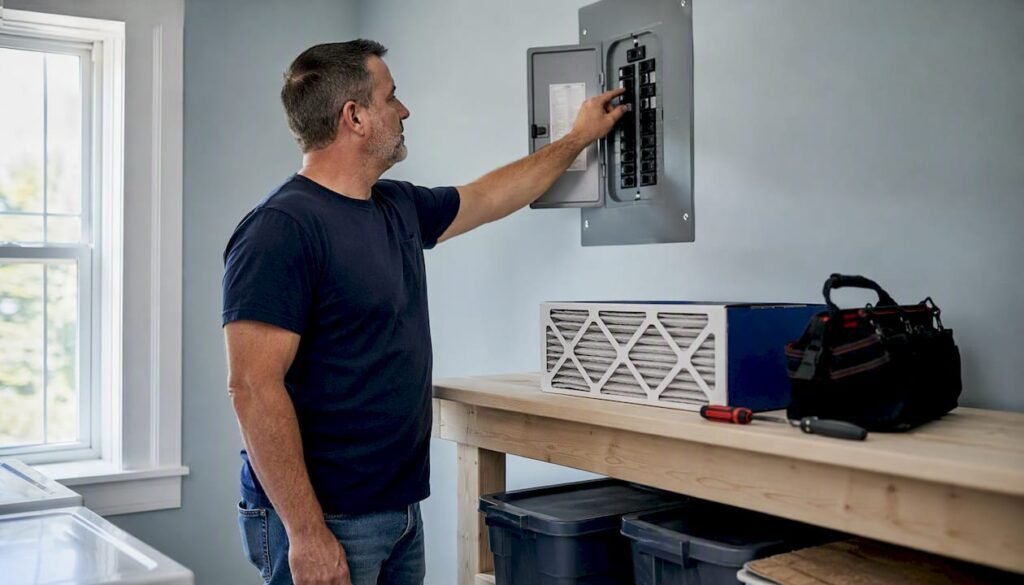
Safety first: Cut power at the thermostat, the breaker panel, or the local shutoff switch near the indoor unit. Manufacturer guidance is consistent on this point. Never run the system with the filter slot open; unfiltered air pulls debris directly into the blower motor and coil.
Before you open anything, confirm whether your filter is disposable or washable, count how many filter slots your home has (some systems have two or more), and note whether access requires a ladder or moving stored items.
Pro Tip: Take a photo of your current filter before removal. The size, MERV rating, and arrow direction are all printed on the frame, and that photo saves you a second trip to the hardware store.
Where is the air filter located in your home?
Most homeowners find the filter in one of three places.
- Return air grille: A large louvered vent on a wall or ceiling, usually in a hallway or main living area. The filter sits directly behind the grille face.
- Air handler or furnace cabinet: A metal cabinet in the basement, garage, attic, or utility closet. The filter slides into a dedicated slot on the side or bottom of the unit.
- Window AC units: Some have a washable mesh filter behind the front panel, accessed by lifting or unclipping the cover.
To tell a return vent from a supply vent, hold a tissue near the grille while the system runs. A return vent pulls air in (the tissue moves toward it); a supply vent pushes air out. Follow the large return duct back to the air handler if you are unsure where the filter slot is.
Some homes have multiple return grilles, each with its own filter. Check every large vent in the home before assuming you have found them all. For ceiling-mounted returns, use a stable step ladder and have someone steady it while you work.

How do you remove the old filter safely?
- Confirm power is off at the thermostat or breaker.
- Unscrew or unclip the grille or access panel and set it aside.
- Note the direction of the arrow on the filter frame before touching it.
- Slide the filter straight out without tilting it. Tilting dumps accumulated dust back into the duct.
- Transfer it directly into a garbage bag and seal it. Do not tap or shake the filter near the unit.
Inspect the old filter before you toss it:
- Hold it up to a light source. If you cannot see light through it, it was overdue for replacement.
- Look for collapsed or bent fins, which signal the filter was left in too long.
- Check for dampness or mold, which points to a moisture problem in the system.
- Heavy soot or smoke staining may indicate combustion issues worth investigating.
- Structural damage (torn media, broken frame) means the filter was not sealing properly.
Write down or photograph the dimensions printed on the frame. You will need that exact size for the replacement.
How do you choose the right replacement filter?
Size: get the exact fit
The frame dimensions are printed on the old filter, typically in a format like 20 x 25 x 1 (width x height x depth, in inches). Buy that exact size. A filter that is even a half-inch too small lets unfiltered air bypass the media entirely, which defeats the purpose of having a filter.
Thickness and lifespan
| Thickness | Typical Lifespan | Notes |
|---|---|---|
| 1 inch | 30–60 days | Most common; fits standard slots |
| 2 inch | 60–90 days | Better capacity; check slot depth |
| 4 inch | Up to 6 months | Deep-media; requires compatible air handler |
MERV ratings explained
MERV ratings measure how well a filter captures particles. Higher MERV means finer filtration but also more airflow resistance. A safe rule of thumb for most homes: match your current MERV or move up one level. MERV 8–11 covers most residential needs; MERV 13 is worth targeting if your system can handle the added restriction. Moving up multiple levels at once can stress the blower motor, so increase gradually and monitor airflow.
A correctly sealed lower-MERV filter will outperform a higher-rated one installed with gaps. The seal matters more than the rating number alone.
Pro Tip: Keep the cardboard frame intact when handling the new filter. The frame is structural and holds the media square in the slot. Write the purchase date on the frame with a marker before you install it.
Standard disposable filters commonly retail around $20, with higher-MERV and deep-media options priced higher. For homeowners managing renovation dust, a low-dust approach during construction projects can reduce how quickly filters load up.
How do you install the new filter correctly?
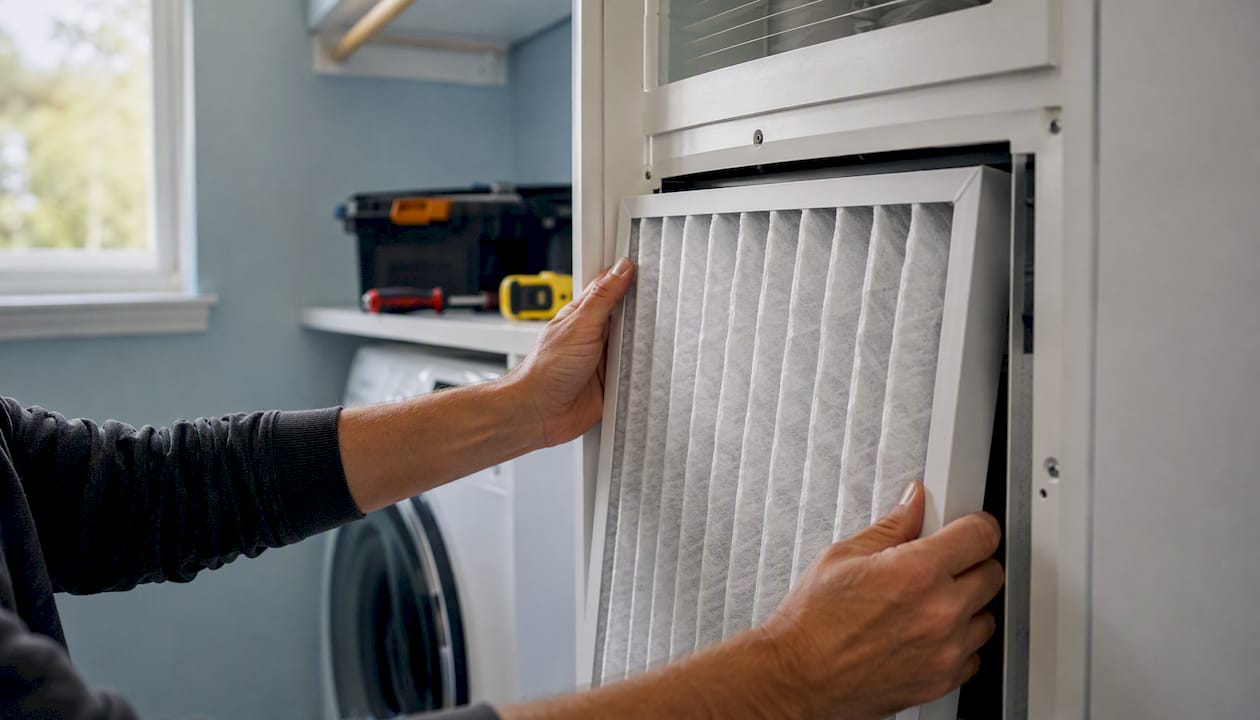
- Unwrap the new filter but leave the cardboard frame intact.
- Locate the airflow arrow on the frame. That arrow must point toward the blower motor, meaning into the system, away from the return duct.
- Slide the filter straight into the slot without bending the media.
- Press gently on all four edges to confirm a flush, snug fit. A filter that bows or rocks is the wrong size.
- Reseal the access panel or grille securely.
Common mistakes to avoid:
- Installing the filter backward. A reversed filter reduces efficiency and stresses the blower motor.
- Using a filter that is slightly too small, which allows air to bypass the media at the edges.
- Leaving the grille or panel open after installation.
Pro Tip: Run the dollar-bill test after the system starts. Hold a thin piece of paper near the filter edge. If it flutters outward, air is escaping around the frame. Reseat the filter or replace it with the correct size.
Write the installation date on the filter frame. That single habit makes every future replacement faster.
How do you verify the system is running correctly after the change?
Restore power at the thermostat or breaker, set the system to run, and give it two to three minutes before checking anything.
- Listen for unusual rattling, banging, or high-pitched sounds during startup.
- Feel the supply registers for airflow. You should notice air moving freely from every vent.
- Repeat the dollar-bill test at the filter edge to confirm no bypass.
- Smell for anything unusual. A brief dust smell on first startup is normal; persistent burning or musty odors are not.
Set a calendar reminder or phone alert for your next replacement date based on your filter type and household conditions. Store the photo of the old filter dimensions somewhere easy to find, such as a note on your phone or a label inside the utility closet.
Pro Tip: If you notice reduced airflow immediately after a correct install, check whether the access panel is fully closed. A partially open panel creates a pressure leak that mimics a clogged filter.
When should you call a professional instead of fixing it yourself?
Some post-change issues are simple DIY fixes. Others signal a system problem that needs a technician.
DIY fixes you can try first:
- Reseat a filter that is slightly misaligned
- Confirm you purchased the correct size and swap it out if not
- Tighten loose grille screws that cause vibration noise
Call a professional when you see these red flags:
- No meaningful airflow after a confirmed correct install
- Banging, rattling, or grinding that was not present before the change. These sounds often point to loose hardware, a failing blower motor, or collapsed ductwork rather than the filter itself.
- Persistent musty or burning odors after the first few minutes of operation
- The filter clogs completely within a week or two of installation
- Visible moisture, water stains, or mold around the filter slot
If you smell gas or see electrical arcing at any point, shut off power immediately and call a professional. Do not attempt to diagnose those issues yourself.
When you contact Kcaircontrol, have your system model, filter size, and a description of the symptoms ready. That information helps the technician arrive prepared. You can also check signs you may need HVAC repair on the Kcaircontrol site before calling.
Pro Tip: If you suspect poor airflow is a recurring issue rather than a one-time filter problem, a professional airflow diagnostic can identify duct restrictions or equipment wear before they become costly failures.
Why does regular filter replacement matter, and how often should you do it?
A clogged filter forces your HVAC system to work harder to pull air through the restricted media. According to the U.S. Department of Energy, regular filter replacement is one of the most direct ways to reduce energy use and prevent premature component failure. Higher utility bills and shortened equipment life are the two most common consequences of skipping changes.
Recommended replacement schedule:
- 1-inch filters: Every 30–60 days under typical conditions (check monthly in high-dust or high-occupancy homes)
- 2-inch filters: Every 60–90 days
- 4-inch media filters: Up to every 6 months under typical conditions
Conditions that shorten any filter’s life:
- One or more pets in the home
- A smoker in the household
- Active construction or renovation nearby (a window replacement project or similar work generates significant dust)
- Seasonal high pollen or wildfire smoke events
- More than three occupants in the home
Visual inspection is a reliable backup check. Hold the filter up to a light source; if you cannot see light through the media, replace it regardless of how recently it was installed. Understanding how filters affect your system helps you make smarter decisions about frequency and filter type.
Standard 1-inch disposable filters typically retail for a moderate price, making frequent changes affordable. Thicker media filters cost more upfront but change less often, which can balance out over a year of use.
Key Takeaways
Replacing your HVAC air filter correctly requires cutting power first, matching the exact frame size, orienting the arrow toward the blower, sealing all four edges, and recording the installation date for your next change.
| Point | Details |
|---|---|
| Power off first | Cut power at the thermostat, breaker, or local shutoff before touching the filter slot. |
| Match the exact size | Read the dimensions from the old frame; even a small mismatch allows unfiltered air to bypass the media. |
| Arrow toward the blower | The airflow arrow on the filter frame must point into the system, toward the blower motor. |
| Seal all four edges | Press gently on every edge after installation; a filter that bows or rocks is the wrong size. |
| Kcaircontrol for pro support | When red-flag symptoms appear after a correct install, Kcaircontrol’s Kansas City technicians can diagnose the root cause and restore proper airflow. |
A professional note on DIY versus scheduled maintenance
Routine filter swaps are genuinely within reach for most homeowners, and doing them on schedule is one of the highest-value maintenance habits you can build. The six-step process covered here is straightforward, and the cost of a new filter is far lower than the cost of a blower motor replacement caused by a clogged one.
That said, a filter change is not a substitute for a full system inspection. If you are changing filters on schedule and still noticing reduced airflow, unusual sounds, or rising energy bills, the filter is not the problem. Those symptoms point to equipment wear, duct issues, or refrigerant concerns that require a trained eye.
At Kcaircontrol, we recommend treating the annual or semi-annual professional tune-up as the complement to your DIY filter routine, not a replacement for it. The seasonal maintenance steps on our site outline what a full inspection covers and why it catches problems a filter swap cannot.
Kcaircontrol handles filter changes and full inspections for Kansas City homeowners
Prefer to have a professional handle it? Kcaircontrol’s technicians serve the Kansas City area with filter replacement visits that include a full airflow inspection, a check of the blower and coil, and a date-stamped service record you can keep for warranty purposes.

A scheduled visit with Kcaircontrol covers more than the filter itself. The technician checks for the red-flag symptoms described above, tests static pressure across the system, and flags any developing issues before they become emergency repairs. Financing options are available for larger repairs or system upgrades discovered during the visit.
To book a tune-up or inspection, visit the AC tune-up page and schedule online. If you are already seeing symptoms like reduced airflow or unusual sounds, the emergency HVAC troubleshooting page can help you decide whether to book a standard visit or request urgent service.
Useful sources and further reading
- U.S. Department of Energy — Air Conditioner Maintenance: Government guidance on filter replacement and energy efficiency.
- ENERGY STAR — Heating and Cooling: Program standards and efficiency benchmarks for residential HVAC systems.
- Carrier — How to Perform Air Filter Replacement: Manufacturer safety guidance, including power shutoff steps.
- Aprilaire — How to Dispose of Old Air Filters: Safe removal and disposal practices.
- Filterbuy — Why Does Air Filter Size Matter?: Detailed explanation of sizing, seal integrity, and bypass risk.
- Kcaircontrol — The Role of Air Filters in Home HVAC Systems: Brand educational resource on filter function and system efficiency.
Always consult your equipment’s owner’s manual for model-specific filter slot dimensions, access instructions, and any manufacturer-recommended MERV limits before purchasing a replacement.