
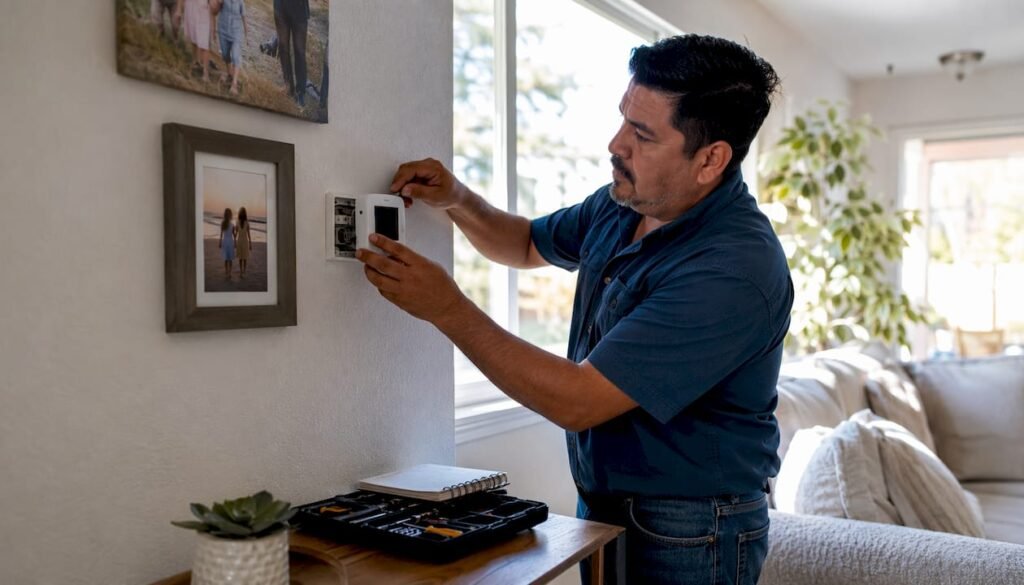
What are the key steps to replace a thermostat yourself?
Replacing a thermostat is a straightforward DIY project most homeowners can complete in a relatively short time. Here is the full sequence at a glance:
- Turn off HVAC power at the breaker labeled “Furnace,” “Air Handler,” or “HVAC”
- Confirm power is off with a non-contact voltage tester
- Take clear, close-up photos of your existing wiring before touching anything
- Label each wire with its terminal letter (R, W, Y, G, C) using masking tape
- Remove the old thermostat faceplate, disconnect wires, and unscrew the base plate
- Thread wires through the new base plate, mount it level, and connect each wire to its matching terminal
- Insert batteries, set the fuel switch, and attach the new faceplate
- Restore power and test heating, cooling, and fan modes one by one
- Consult the manufacturer’s wiring guide for any device-specific steps
That sequence covers the vast majority of standard home thermostat swaps. The sections below walk through each step in full detail, including safety, wiring, and when to call a pro.
What tools and safety precautions do you need first?
Turning off the HVAC breaker before you touch a single wire is the non-negotiable first rule. Thermostat wiring runs on 24V, but the transformer powering it sits on a 120V circuit. A short while the system is live can blow the control board, which is an expensive repair.
Gather these tools before you start:
- Precision screwdriver (flathead and Phillips, including a small eyeglass-size flathead for tight terminal screws)
- Non-contact voltage tester to confirm power is truly off
- Masking tape and a pen for labeling wires
- Smartphone or camera for photographing existing wiring
- Level to mount the new base plate straight
- Drill and drywall anchors if new screw holes are needed
- Vice grip pliers to clamp wires and prevent them from slipping into the wall
Pro Tip: Wrap a strip of masking tape around each wire and write its terminal letter on the tape before you disconnect anything. This single habit prevents the most common wiring mistakes and saves real time during reinstallation.
Step 1: How do you power off and document your existing wiring?
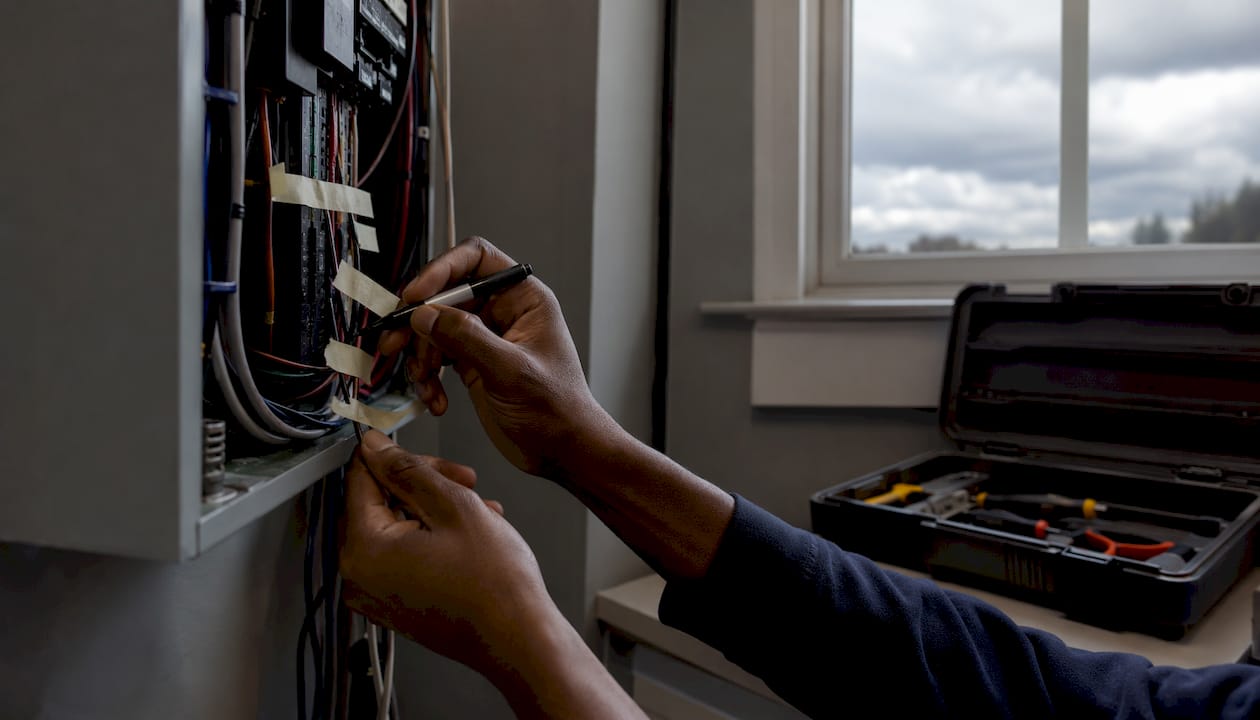
Go to your breaker panel and flip the switch labeled “Furnace,” “Air Handler,” or “HVAC” to the off position. Then hold your non-contact voltage tester near the thermostat wires to confirm no current is present. Never rely on the thermostat’s display going dark as proof the power is off.
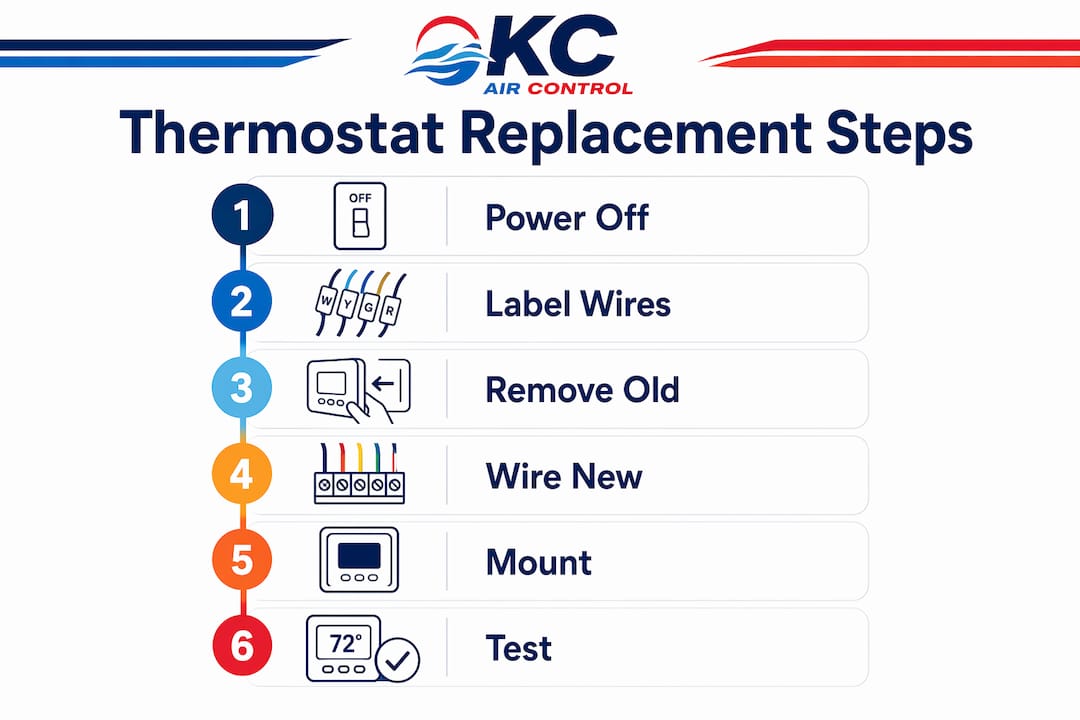
Once confirmed, photograph your wiring clearly before disconnecting anything. Capture which wire color connects to which terminal letter on the old base plate. These photos are your safety net if anything looks confusing during reinstallation.
Label every wire by its terminal letter, not by wire color. Wire colors are unreliable, especially in older homes or houses where a previous owner did the wiring themselves. The terminal letter on the old base plate is always the authoritative reference. Masking tape labels and photos together guard against the most common DIY wiring mistakes.
- Label the wire at the R terminal “R,” the W terminal “W,” the Y terminal “Y,” the G terminal “G,” and the C terminal “C” if present
- If a blue wire sits in the G terminal, label it “G,” not “blue”
- Label every wire before disconnecting even one
Step 2: How do you remove the old thermostat without losing wires?
Start by tilting the thermostat faceplate forward and pulling it straight off the base. Most modern units unsnap from the base plate with a firm pull. The wires stay attached to the base plate at this stage.
Before you unscrew the base plate, clamp a set of vice grip pliers across all the wires below the plate. This keeps them from slipping into the wall cavity the moment you pull the base free. Fishing a wire out of a wall cavity is a frustrating detour that can add an hour to a simple job.
With the pliers holding the wires, unscrew the old base plate and slide it off the wires from the bottom up. Set it aside. You should now have labeled wires hanging out of the wall, held securely by the pliers or taped to the wall surface.
- Remove the faceplate by tilting and pulling forward
- Clamp vice grips on wires before unscrewing the base plate
- Unscrew and remove the base plate completely
- Confirm all wires are labeled and secured before moving on
Step 3: How do you wire and mount the new thermostat correctly?
Thread the labeled wires through the wire opening on the new base plate. Hold the plate against the wall, use your level to confirm it is straight, and mark any new anchor holes needed. Drill those holes, tap in drywall anchors, and screw the base plate snugly into place. Do not overtighten the screws — you can crack the plastic base plate with too much force.
Now connect each wire to its matching terminal. Most standard swaps follow the universal R/W/Y/G convention across popular brands including Honeywell, Emerson, and Lux, so matching label to terminal letter is all it takes. Make sure about a quarter inch of bare copper is exposed on each wire. Too little means a weak connection; too much creates a short circuit risk.
Pro Tip: Double-check every connection against the wiring diagram in the manufacturer’s instructions before attaching the faceplate. A wire in the wrong terminal can damage your HVAC control board, and that repair costs far more than a service call.
- Thread wires through the new base plate opening
- Level the plate and secure it with anchors
- Match each labeled wire to the same letter terminal (R to R, W to W, Y to Y, G to G)
- Push-in connectors: insert wire until it clicks; screw terminals: tighten firmly
- Set the fuel switch on the back of the faceplate to Gas/Oil or Electric to match your system
- Insert fresh batteries if required, then snap the faceplate onto the base until it clicks
For programmable thermostat types like Honeywell, Emerson, and Lux units, there is no Wi-Fi setup or C-wire requirement on most models, making them the simplest swap of all.
Step 4: How do you power on and test the new thermostat?
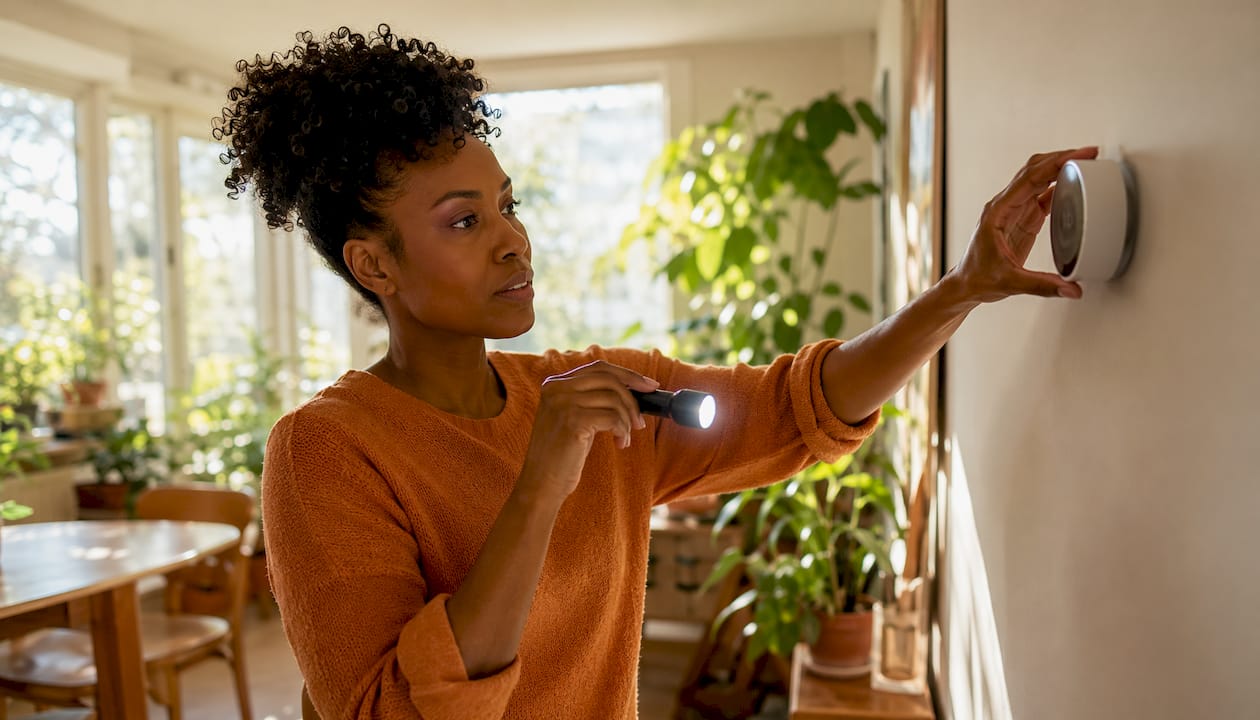
Turn the breaker back on and give the thermostat a moment to boot up. Most units display a setup screen or ask you to set the time. Follow any on-screen prompts before running your tests.
Test every mode in sequence to confirm the system responds correctly:
- Heat mode: Set the temperature above the current room temperature and wait for the furnace to engage. Give it at least 5 minutes.
- Cool mode: Set the temperature below room temperature and confirm the air conditioner starts.
- Fan mode: Switch to “Fan On” and verify the blower runs independently of heating or cooling.
- Temperature display: Confirm the reading looks accurate for the room.
If any mode fails to respond, turn the breaker off immediately and recheck your wiring against the photos from Step 1. You may also need to press the reset button on some models before the thermostat will activate. Check the manufacturer’s guide for that specific step.
Compatibility, C-wire requirements, and when to call a pro
Confirming compatibility before you buy a replacement thermostat saves a lot of frustration. Check the packaging for a compatibility list, and verify your system type matches what the new unit supports.
Smart thermostats typically require a C-wire for constant 24V power. Many older homes do not have one. If yours is missing, you have a few options: Ecobee includes a Power Extender Kit that wires at the furnace control board, and Nest uses power-stealing technology that works on most systems without a dedicated C-wire. Honeywell sells a C-Wire Adapter as a separate add-on. Each solution adds extra work time at the furnace end. Understanding heating system controls can help you identify which option fits your setup.
Heat pump systems add another layer of complexity. They use an O or B wire for the reversing valve and an Aux or E wire for emergency heat, which differ from standard furnace and AC wiring. If your wiring does not match the instructions or looks non-standard, stop and call a licensed HVAC technician.
Incorrect wiring on complex systems can damage the HVAC control board and create safety hazards. Call a pro when:
- Wiring does not match the new thermostat’s diagram
- You have a heat pump with O/B or Aux/E wires you are unsure about
- Your home has old or corroded wiring
- No C-wire is present and adapter kits feel beyond your comfort level
- The thermostat location is in direct sunlight or a poor spot requiring relocation
Common homeowner questions:
My new thermostat won’t power on. Check that batteries are installed correctly and the breaker is fully on. If the display stays blank, recheck all wire connections, especially the R wire.
The system runs but temperature readings seem off. Confirm the thermostat is not mounted near a heat source, drafty window, or in direct sunlight, all of which skew readings.
My wiring has more wires than the new thermostat has terminals. Some systems use extra wires for features like emergency heat or humidifiers. Check the manufacturer’s guide for how to handle unused wires, or consult a technician.
How should you dispose of your old thermostat safely?
Old thermostats, particularly those made before the 1990s, may contain mercury switches. Mercury is a hazardous material and cannot go in regular household trash or recycling bins. Check with your local waste management authority for hazardous waste drop-off events or permanent collection sites in your area.
The Thermostat Recycling Corporation runs a national collection program called Thermostat Recycling, with drop-off locations at many hardware and HVAC supply stores across the United States. If your old thermostat is mercury-free, many municipalities accept it through standard electronics recycling. When in doubt, contact your local solid waste program before disposal.
When the job is bigger than a DIY swap, Kcaircontrol is here

Some thermostat replacements reveal bigger issues: a failing control board, outdated wiring, or an HVAC system that needs more than a new thermostat to run right. If your installation hits a wall, Kcaircontrol’s team of trusted HVAC professionals in the Kansas City area is ready to help. With over 70 years of experience, we handle everything from a straightforward thermostat swap to emergency HVAC repairs that get your system back up fast. Schedule online or call us directly — we make it easy to get comfortable again.
Key Takeaways
A successful thermostat replacement depends on powering off safely, labeling every wire by terminal letter before disconnecting, and testing all three system modes after installation.
| Point | Details |
|---|---|
| Power off first, always | Turn off the HVAC breaker and confirm with a voltage tester before touching any wires. |
| Label by terminal letter, not wire color | Wire colors can be non-standard; the terminal letter on the old base plate is the reliable guide. |
| Standard install time | Most homeowners complete a straightforward swap efficiently with no complications. |
| Smart thermostats often need a C-wire | Older homes may lack one; adapter kits or professional installation are the main solutions. |
| Call a pro for complex wiring | Heat pump systems, non-standard wiring, or missing C-wires are situations where a licensed technician prevents costly damage. |